How to Start Fermenting Foods at Home (Beginner-Friendly Guide)
Quick summary
Fermentation may be one of the simplest and oldest ways to preserve food, but it still feels a little like magic when you see it happen in your own kitchen for the very first time. With a few sprinkles of salt and some patience, you can upgrade ordinary vegetables into flavorful, gut-friendly foods that can last for weeks or even months.
If you’ve ever been curious about how to ferment foods at home, it might be much easier than you think. Most beginner ferments require just a few basic kitchen tools, and the process is surprisingly forgiving and flexible once you get the hang of the basics.
In this guide, we’ll walk through everything step by step, including what fermentation actually is, how to get started, and how to know when your batch is ready. By the end, you’ll feel confident enough to try your first ferment and maybe even start experimenting with your own fun flavor combinations.
What is fermentation?
Fermentation is a natural process where tiny microorganisms (including beneficial bacteria and yeast) break down the sugars found in food, transforming them into something totally new.
It’s how ingredients like sauerkraut, kimchi, and yogurt become tangy, bubbly, and full of complex flavors.
If you’re wondering how to ferment foods at home, the process is surprisingly simple: you create the right environment (usually salt, time, and sometimes a starter culture) so these good microbes can do their thing.
There are two main ways this is typically done:
- Dry-salted fermentation (like sauerkraut): Salt is mixed directly into the vegetables. It draws out their natural juices, which then form a brine that the food ferments in.
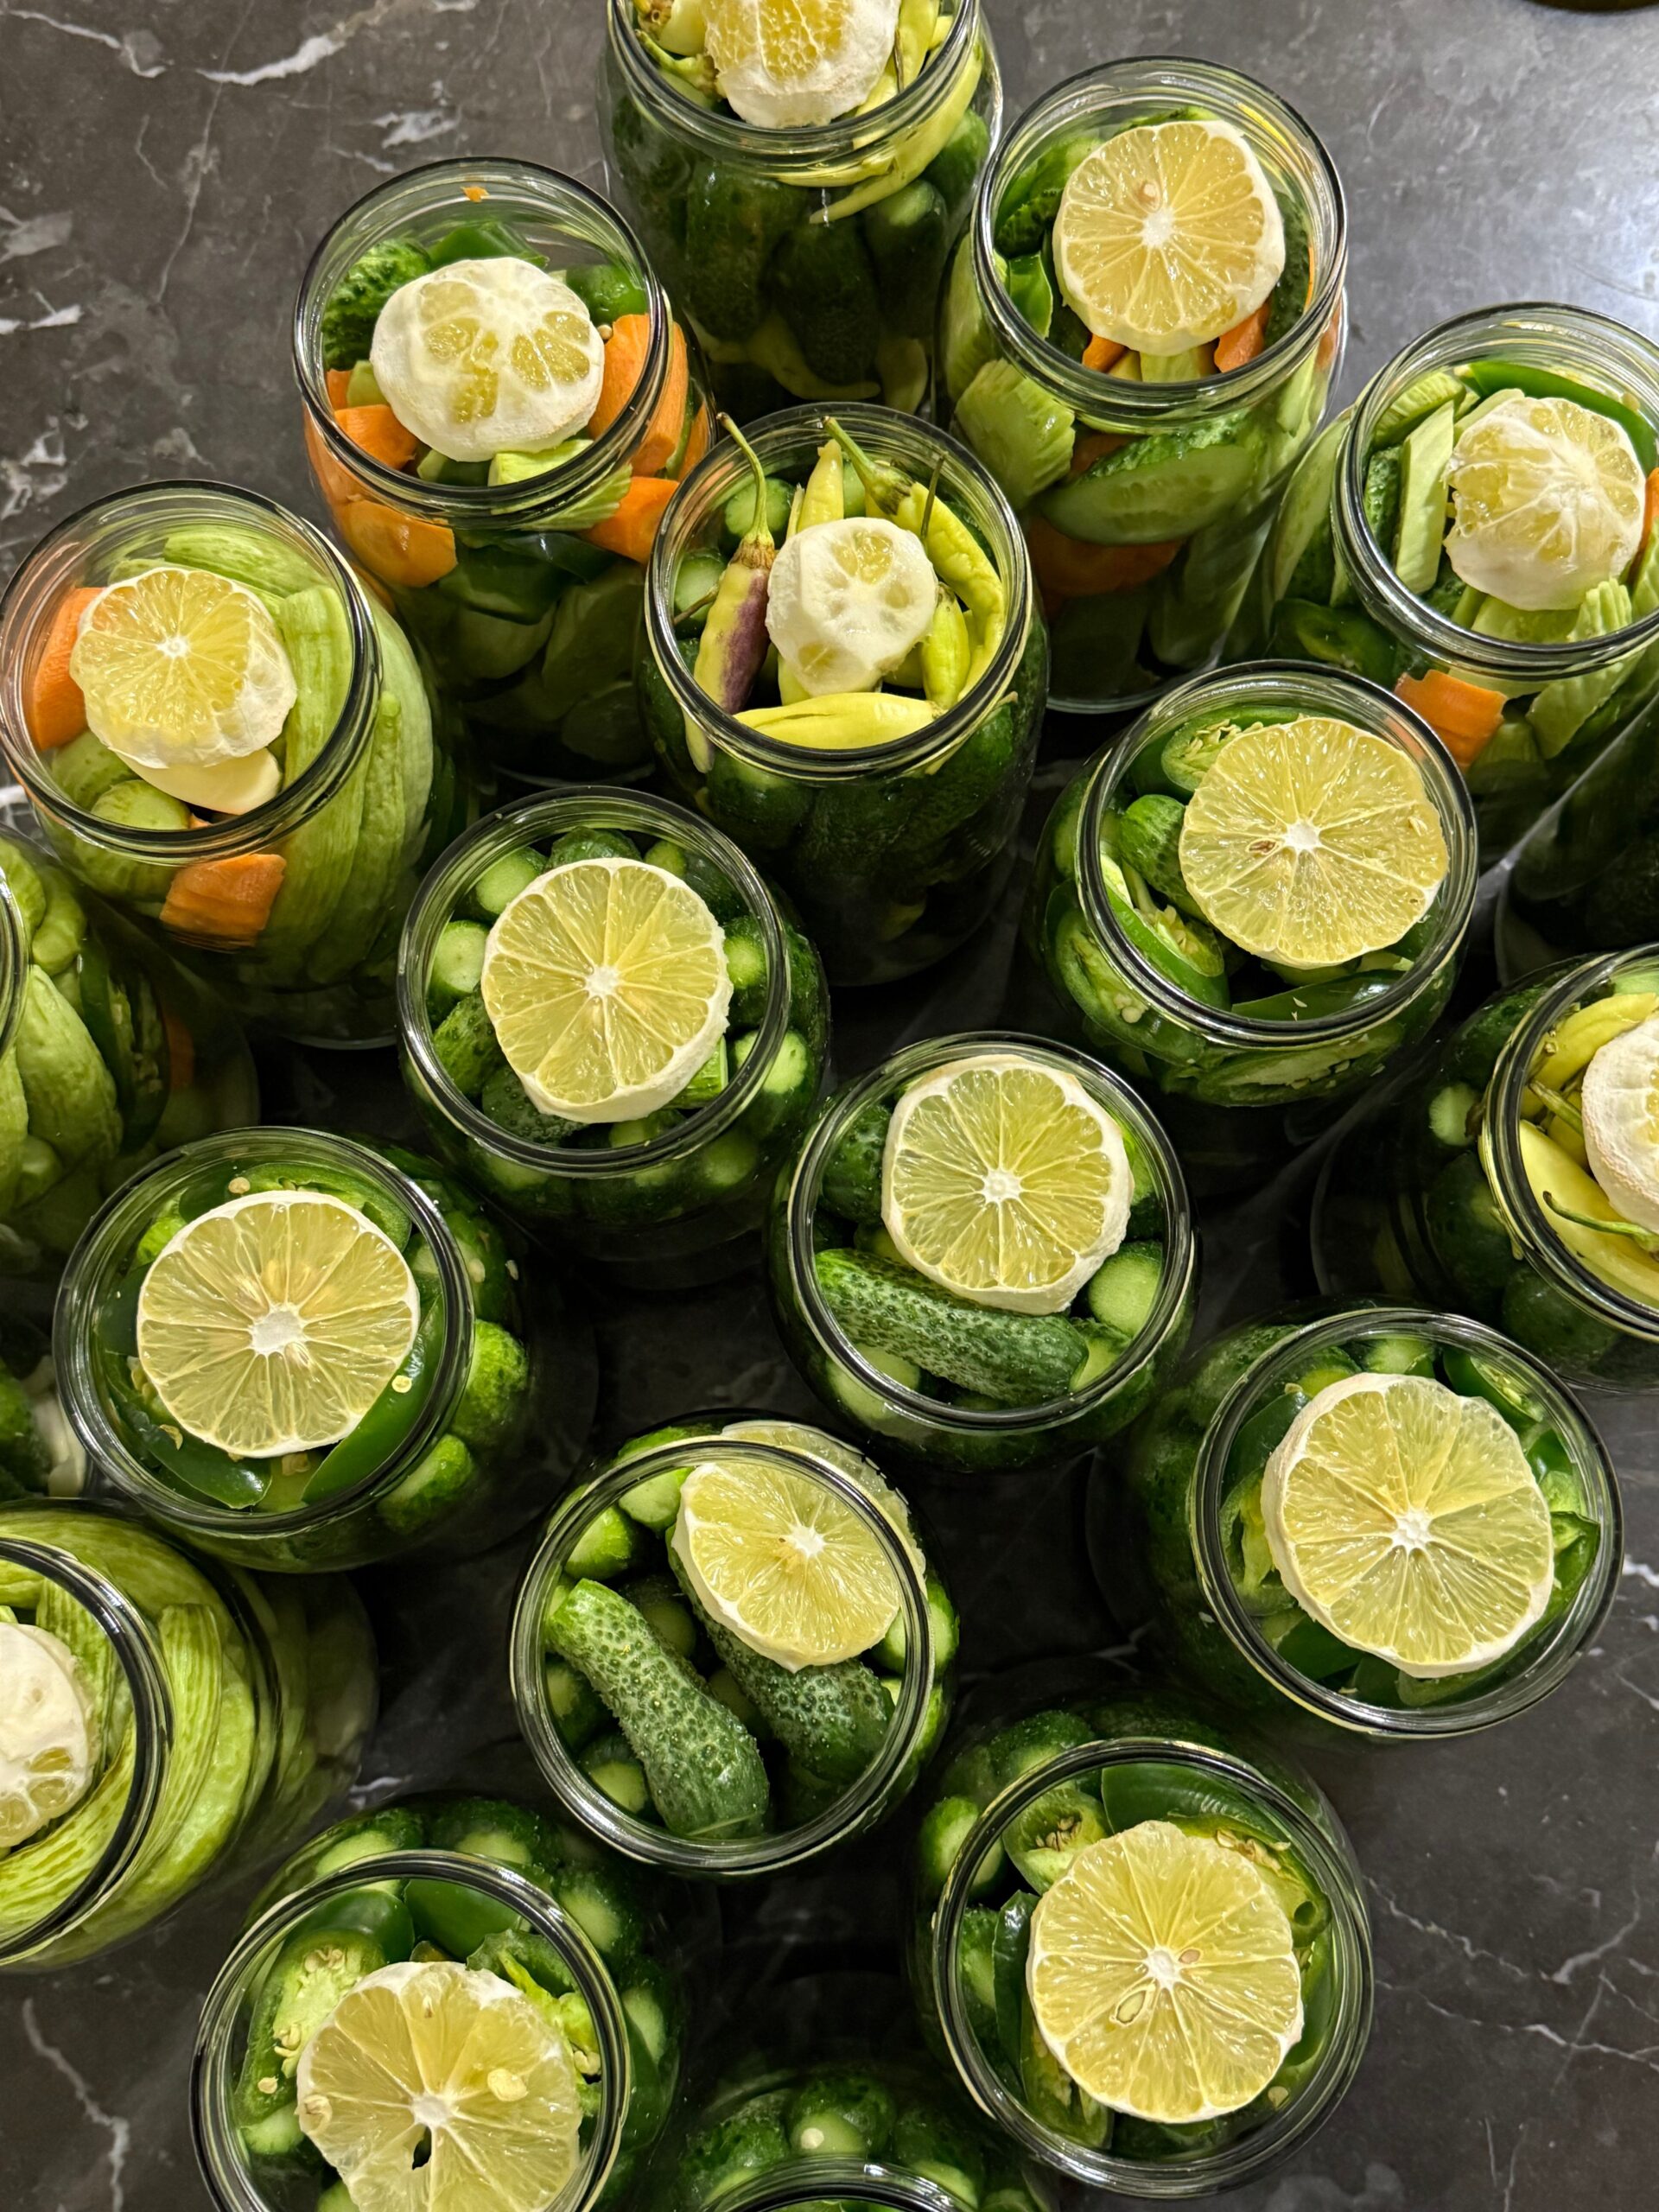
- Brined fermentation (like cucumbers or carrots): Vegetables are submerged in a saltwater solution from the start, creating a fully liquid environment for fermentation.
As these microbes work, they help preserve your food, develop that signature sour taste, and boost gut-healthy compounds like probiotics.
It’s one of the oldest food hacks in history, and you don’t even need fancy equipment to get started.
Benefits of fermenting foods at home
Learning how to ferment foods at home is fun and it boasts some pretty impressive perks, especially for your wallet, your taste buds, and your overall health. Here are a few of the top benefits:
- Boosts flavor: Fermentation creates tangy, complex flavors you can’t get from fresh ingredients alone.
- Enhances gut health: Fermented foods contain beneficial bacteria (aka probiotics) that can help balance your gut microbiome.
- Preserves food: Fermentation is a simple way to extend the shelf life of vegetables and other foods without preservatives.
- Budget-friendly: Fermentation lets you transform produce into something special instead of letting it go to waste.
- Minimal equipment needed: Most ferments use jars, salt, and time — no fancy gear or expensive ingredients required.
- Customizable: It’s easy to adjust salt, spices, and fermentation time to match your personal preferences.
- Cuts food waste: Fermenting foods at home is a great way to use up extra veggies before they spoil.
Stay in the loop!
HEALTHY EATING TIPS & RECIPES delivered directly TO YOUR INBOX
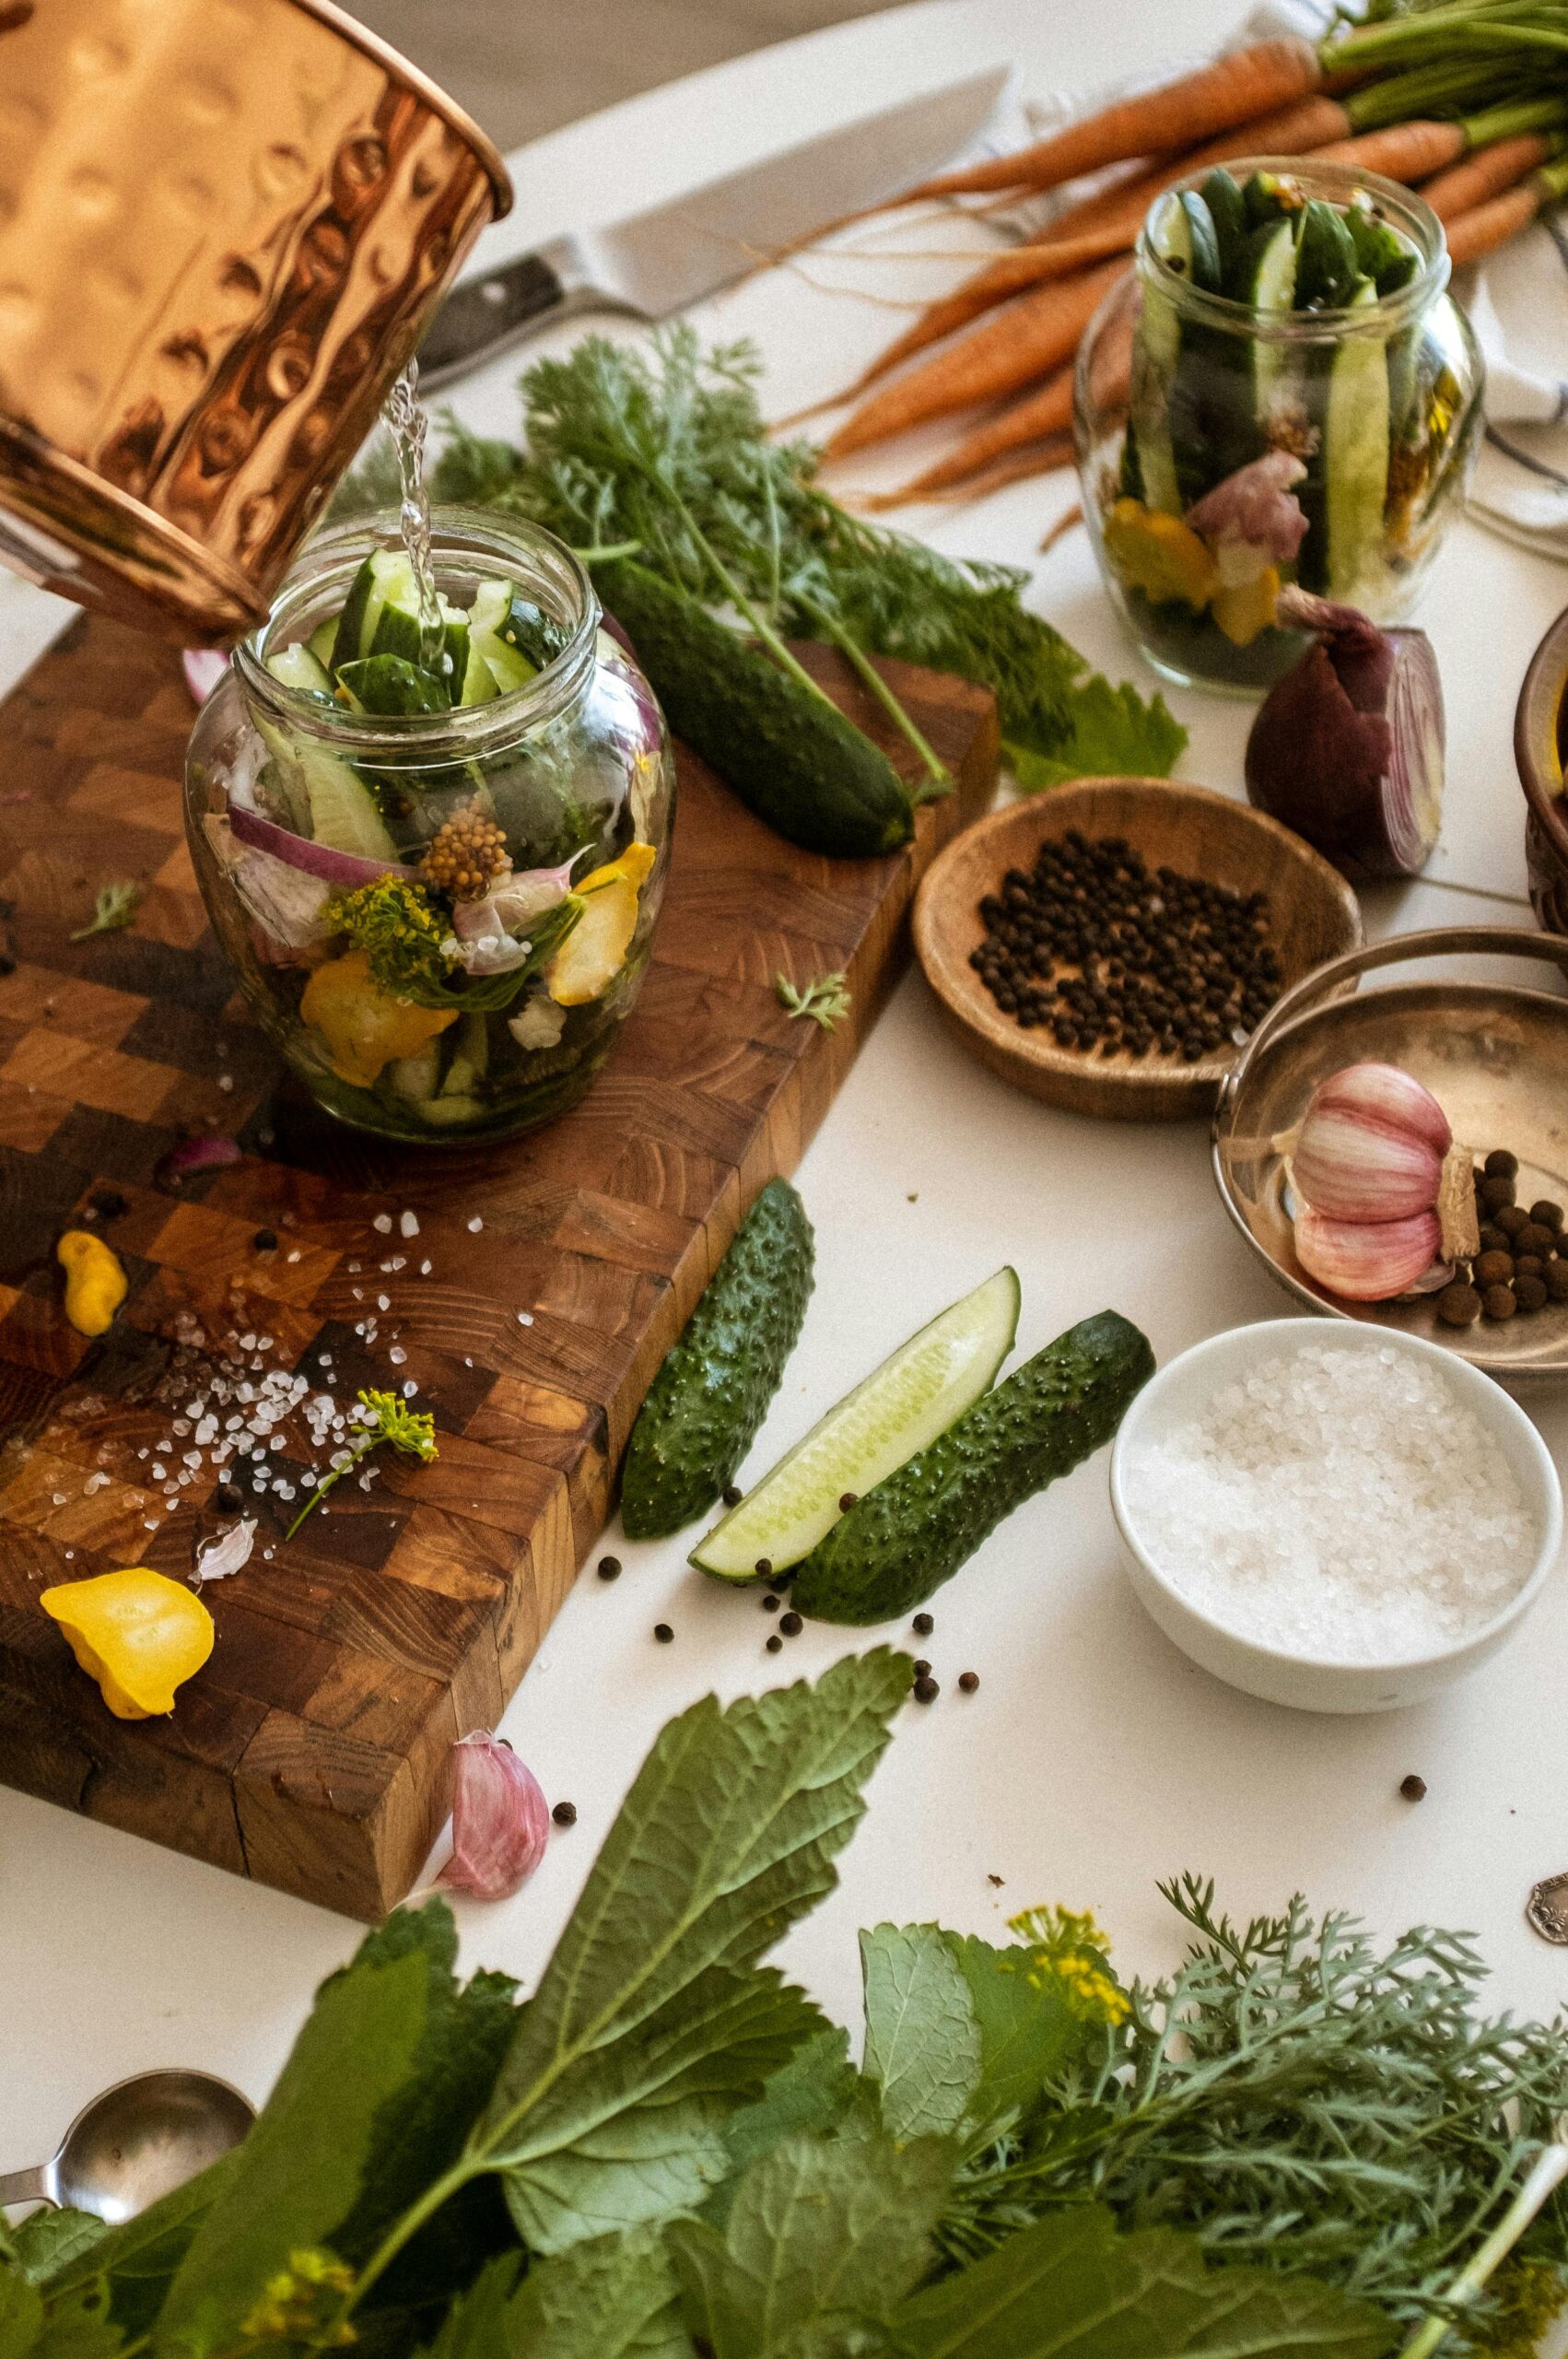
Basic equipment needed
Believe it or not, a lot of the equipment you need to start fermenting foods at home might already be right in your kitchen. Here are some of the most important tools:
- Glass jars: Mason jars or any clean glass jar will work best since glass won’t react with acidic foods.
- Lids or fermentation covers: Regular lids are fine, but loose lids or airlock lids help gases escape during fermentation.
- Weighing tool (optional): A kitchen scale helps you get salt ratios right for more consistent results.
- Weights: Fermentation weights (or even a small clean jar or zip-top bag filled with water) can keep vegetables submerged under brine.
- Salt: Non-iodized salt like sea salt or kosher salt is commonly used to create the right environment for beneficial bacteria to thrive.
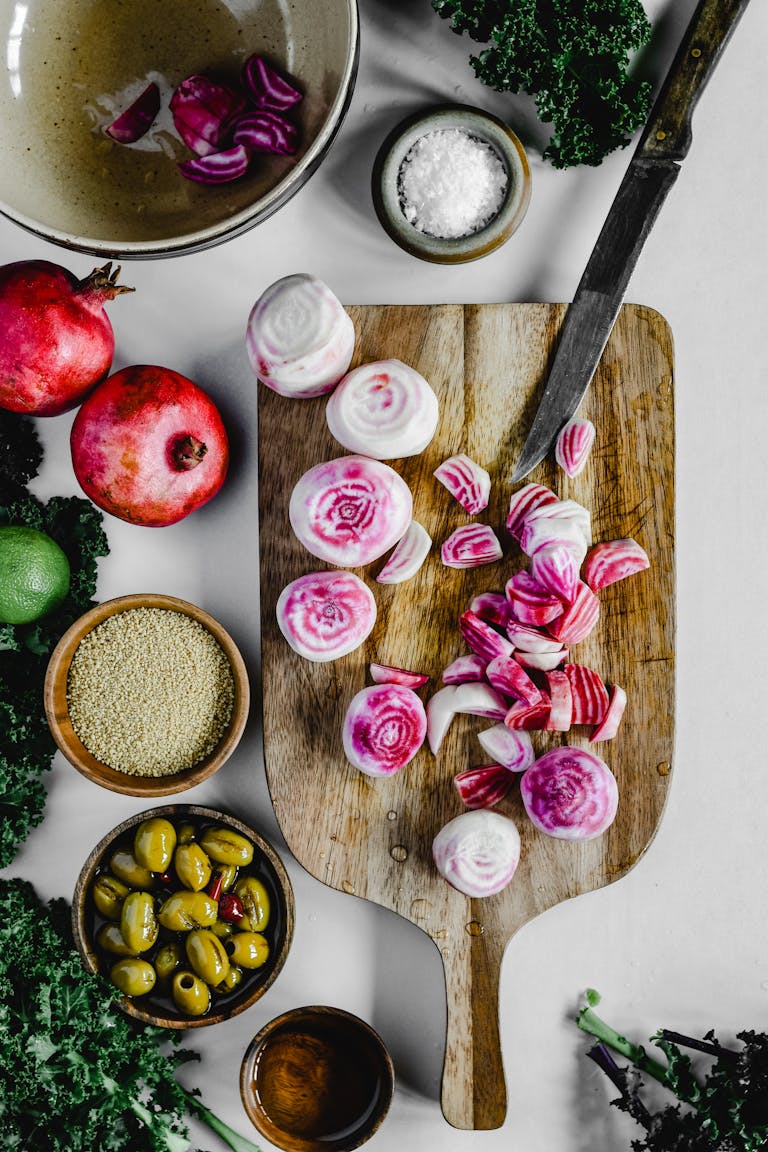
- Cutting board and knife: Before you get started, you’ll need to cut vegetables into even pieces so they ferment uniformly.
- Water: Filtered water is your best bet, since chlorine in tap water can sometimes slow fermentation.
How to ferment vegetables
If you’re learning how to ferment foods at home, veggies are the perfect place to start. They’re forgiving, fast, delicious, and incredibly versatile. The basic idea is to create a salty environment that encourages good bacteria to grow while keeping harmful bacteria in check.
Here’s a simple step-by-step method to help get you going:
1. Choose your vegetables
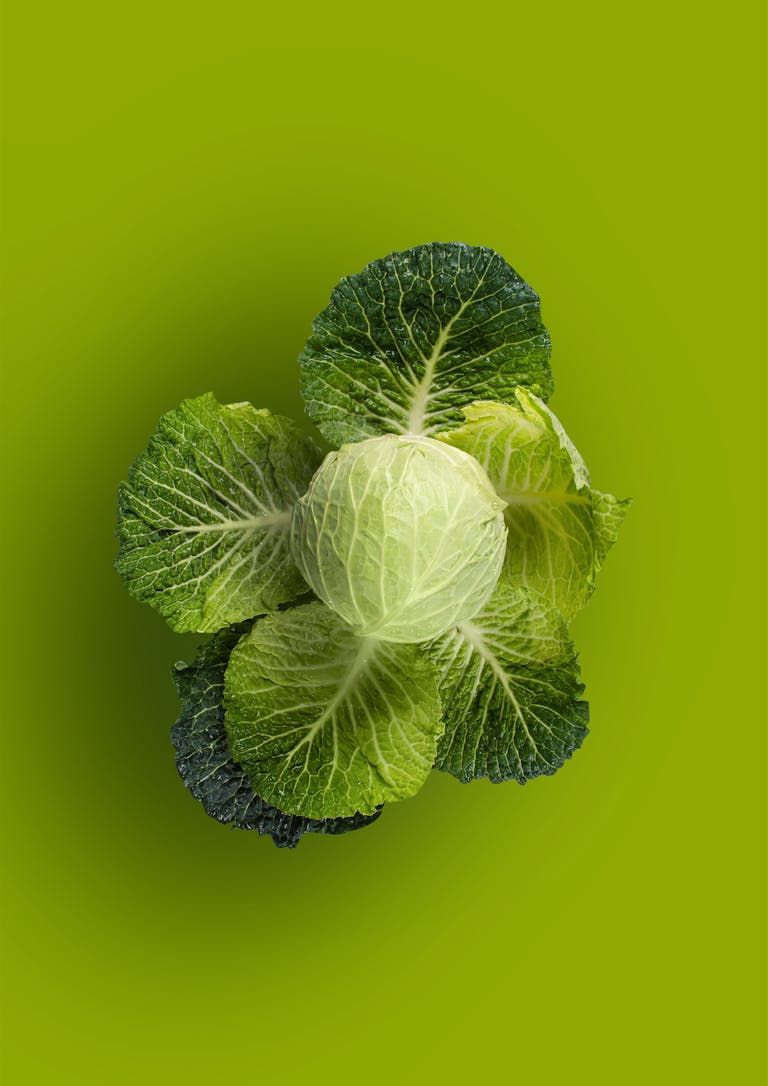
Before you get started, grab your favorite veggies from the grocery store. Cabbage (for sauerkraut), carrots, radishes, cucumbers, and green beans are a few of the easiest options to experiment with.
2. Wash and prep vegetables
The next step is to clean your veggies and cut them into slices, shreds, or chunks depending on what you’re making. Try to keep the pieces fairly uniform so they ferment evenly and finish at the same time.
3. Add salt or prepare a brine
Sprinkle salt over the vegetables or dissolve it in water to make a brine. The salt helps draw out moisture and kickstarts the fermentation process.
Salt is what creates the right environment for fermentation, so getting the amount right is key. A good beginner guideline is:
- Dry-salted ferments: Use about 2% salt by weight, which is roughly 1 to 1½ tablespoons of salt per pound (450 grams) of vegetables. Sprinkle it evenly over the vegetables before massaging.
- Brined ferments: Use a 2-3% saltwater brine, which equals about 2 tablespoons of salt per quart (1 liter) of water for a standard brine.
4. Massage or pack
For dry-salted ferments like cabbage, massage the salt into the vegetables with your hands until they start to soften and release liquid. This brine is what helps create the right fermentation environment.
Then pack the mixture tightly into a clean jar, pressing it down firmly as you go to help more liquid come out and reduce air pockets. Your aim is to create a compact layer that will eventually be fully covered by its own brine.
For brined ferments, skip the massaging step and instead pack the vegetables directly into a clean jar before pouring the saltwater brine over them. In both cases, the tighter the pack, the better the fermentation environment.
5. Submerge
Make sure vegetables stay fully under the brine. For brined ferments (like cucumbers), everything should be completely covered by the saltwater solution from the start.
For dry-salted ferments (like cabbage for sauerkraut), the vegetables will release their own liquid after salting and massaging, and that natural brine should rise to fully cover them in the jar.
Use a weight if needed to keep everything submerged, as exposure to air can lead to mold. A small clean jar or a zip-top bag filled with water can also work well as an easy DIY weight if you don’t have one on hand.
6. Cover loosely
Loosely covering your jar lets fermentation gases escape while keeping contaminants out.
This is important because fermentation naturally produces carbon dioxide, and if pressure builds up in a sealed jar, it can cause overflow or even break the seal.
A loose lid, cloth cover, or airlock-style fermentation lid allows those gases to release safely while still protecting your vegetables from dust, insects, and other contaminants in the air.
If you’re using an airtight container, you’ll need to burp your jar once per day, especially during the first 3-5 days when pressure is at its peak.
7. Let it ferment
Store at room temperature, out of direct sunlight, for about 3-10 days (or longer for stronger flavor).
The timing depends on the specific vegetable, the size of the pieces, and your personal taste, so there’s no single perfect timeline.
Here’s a quick guide for some common vegetables:
- Cabbage (sauerkraut): 5-14 days for a mild to tangy flavor; longer for deeper sourness
- Carrots: 4-10 days, depending on thickness and how soft/tangy you like them
- Cucumbers: 3-7 days for classic fermented pickles (they ferment quickly)
- Radishes: 3-7 days for a crisp, lightly tangy result
- Green beans: 5-10 days for a more developed, sour flavor
8. Taste and store
Once your vegetables reach your preferred level of tanginess, move them to the fridge to slow down the fermentation process.
Cold temperatures don’t stop fermentation completely, but they significantly reduce its speed, helping preserve the flavor and texture you’ve developed.
At this stage, it’s best to trust your taste buds. Some people prefer a milder, lightly tangy flavor after just a few days, while others prefer a deeper, more sour profile that develops over a longer period. It’s totally normal to taste a little every day once you’re getting close.

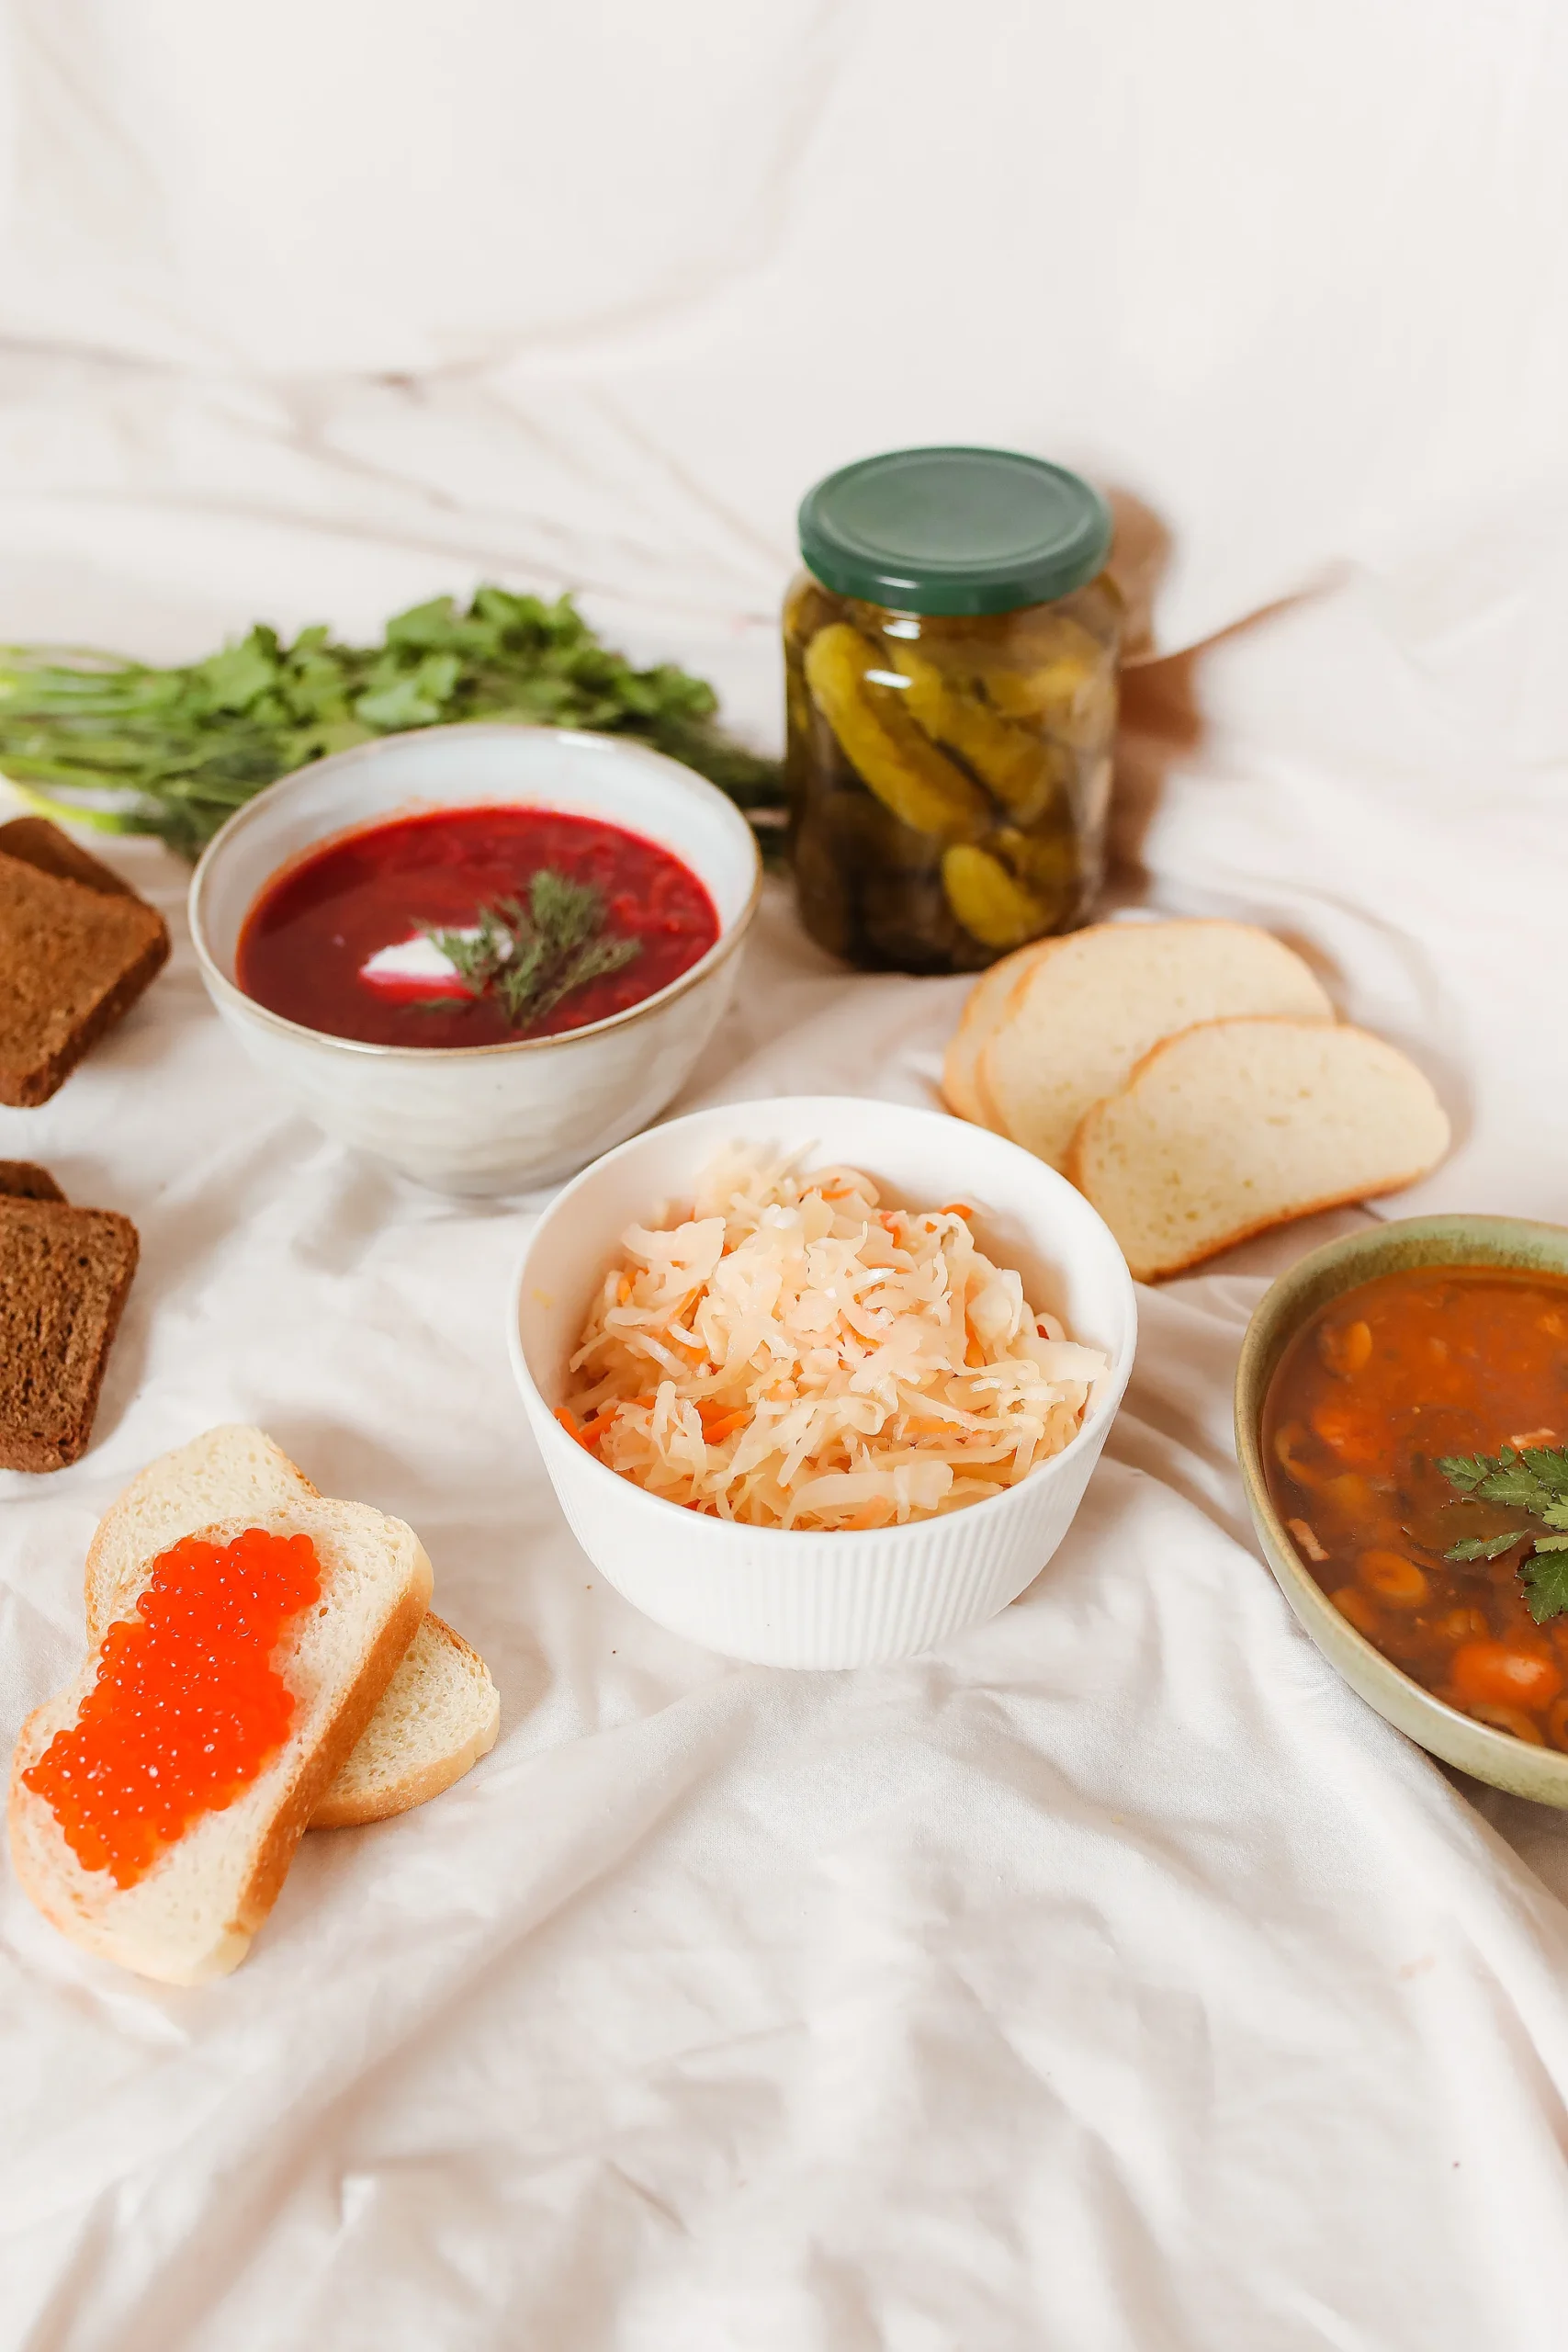
Storage and shelf-life
Once your fermented vegetables are ready, proper storage can keep them safe and delicious for as long as possible. The easiest and most important step is moving them to the refrigerator, which slows down fermentation significantly and helps preserve the flavor and texture you’ve developed.
Keep your ferments in a clean, airtight jar and always make sure the vegetables stay submerged in their brine. This helps maintain quality and reduces the risk of spoilage over time.
Most homemade fermented vegetables will last several weeks to a few months in the fridge, depending on the type of vegetable, salt level, and how well they’re stored. Some even continue to develop flavor slowly over time, becoming more sour and complex the longer they sit.
A few simple signs your ferment is still good:
- it smells pleasantly tangy (not rotten or foul)
- the vegetables are still submerged in brine
- you don’t see fuzzy mold on the surface
If everything looks and smells fine, it’s usually still safe to enjoy.
Beginner-friendly ferments to start with
If you’re just learning how to ferment foods at home, it helps to start with vegetables that are forgiving, quick to ferment, and easy to judge by taste and smell. Here are a few beginner-friendly veggies that are great for building confidence fast:
- Sauerkraut (cabbage): This is one of the simplest ferments, which only uses cabbage and salt. It’s very hands-off and develops flavor steadily over time.
- Carrot sticks or coins: Naturally sweet and crunchy, carrots ferment quickly and are easy to pack into a jar.
- Cucumbers (pickles): Cucumbers are a classic, beginner-friendly ferment, but they move fast, which is perfect if you want results in just a few days.
- Radishes: Crisp, peppery, and fast-fermenting, radishes are great for small-batch experimentation.
- Garlic or mixed veggie jars: Once you’re a little more comfortable, you can combine vegetables and spices to create your own blends.
Here’s a quick breakdown of the most common vegetables, including how long they typically ferment and a few helpful tips for each.
| Vegetable | Best Method | Fermentation Time | Flavor and Texture | Beginner Tips |
|---|---|---|---|---|
| Cabbage | Dry-salted | 5-14 days | Tangy, softens over time | Massage well to release enough natural brine. One of the easiest and most reliable beginner ferments. |
| Carrots | Brined | 4-10 days | Crunchy, mildly sweet, and tangy | Cut evenly for consistent texture. Great with garlic, dill, or ginger. |
| Cucumbers | Brined | 3-7 days | Crisp, sour, classic pickle flavor | Ferment quickly, so taste daily after day 3 to avoid overly soft pickles. |
| Radishes | Brined | 3-7 days | Crisp, peppery, tangy | Strong flavor mellows during fermentation. Great for small-batch experiments. |
| Green Beans | Brined | 5-10 days | Snappy, savory, sour | Pack tightly in jars so they stay submerged under brine. |
| Cauliflower | Brined | 5-10 days | Firm, slightly tangy | Holds texture well and pairs nicely with curry spices or garlic. |
| Beets | Brined | 5-10 days | Earthy, sweet, tangy | Can stain jars and hands, so consider wearing gloves. |
| Garlic | Brined | 7-14 days | Mellow, savory, less sharp | Fermented garlic loses some bite and develops a softer flavor over time. |
| Peppers | Brined | 5-10 days | Spicy, tangy | Great for homemade hot sauce. Wear gloves when handling hot peppers. |
Most common mistakes
As you’re first figuring things out, even a few small missteps can throw you off. Luckily, these common mistakes are easy to avoid once you know what to look for:
- Not using enough salt: Too little salt allows unwanted bacteria to grow, which can increase the risk of spoilage.
- Vegetables not staying submerged: Anything exposed to air is more likely to develop mold due to oxygen exposure.
- Using a completely sealed lid too early: Fermentation produces gas, and a fully sealed jar can build pressure and potentially overflow or leak.
- Cutting vegetables unevenly: Uneven pieces ferment at different rates, leading to inconsistent texture and flavor.
- Fermenting in a warm or sunny spot: Excess heat or direct sunlight can speed fermentation too quickly and negatively affect the flavor and texture of your final product.
- Giving up too early: Fermentation takes time, and many batches improve if you let them develop a little longer.
Safety tips
Fermentation is generally very safe when done correctly, but a few simple habits go a long way in keeping your batches clean, tasty, and successful. Here are the key things to keep in mind:
- Use clean jars and tools: Wash everything thoroughly before you start to avoid unwanted bacteria.
- Keep vegetables submerged: Always ensure everything stays under the brine to prevent mold growth.
- Trust your senses: A good ferment should smell pleasantly tangy, not rotten or off.
- Watch for mold: If you see fuzzy, colored mold (green, black, or pink), it’s best to discard the batch.
- Let gases escape: Use a loose lid or airlock so pressure doesn’t build up in the jar, or burp your jar regularly to let gases out.
FAQ
More helpful articles
Conclusion
Fermenting at home is fun, easy, and a great way to turn basic ingredients into flavorful, gut-friendly foods. Once you understand the basics, you can start experimenting with confidence and gradually build your own favorite ferments.