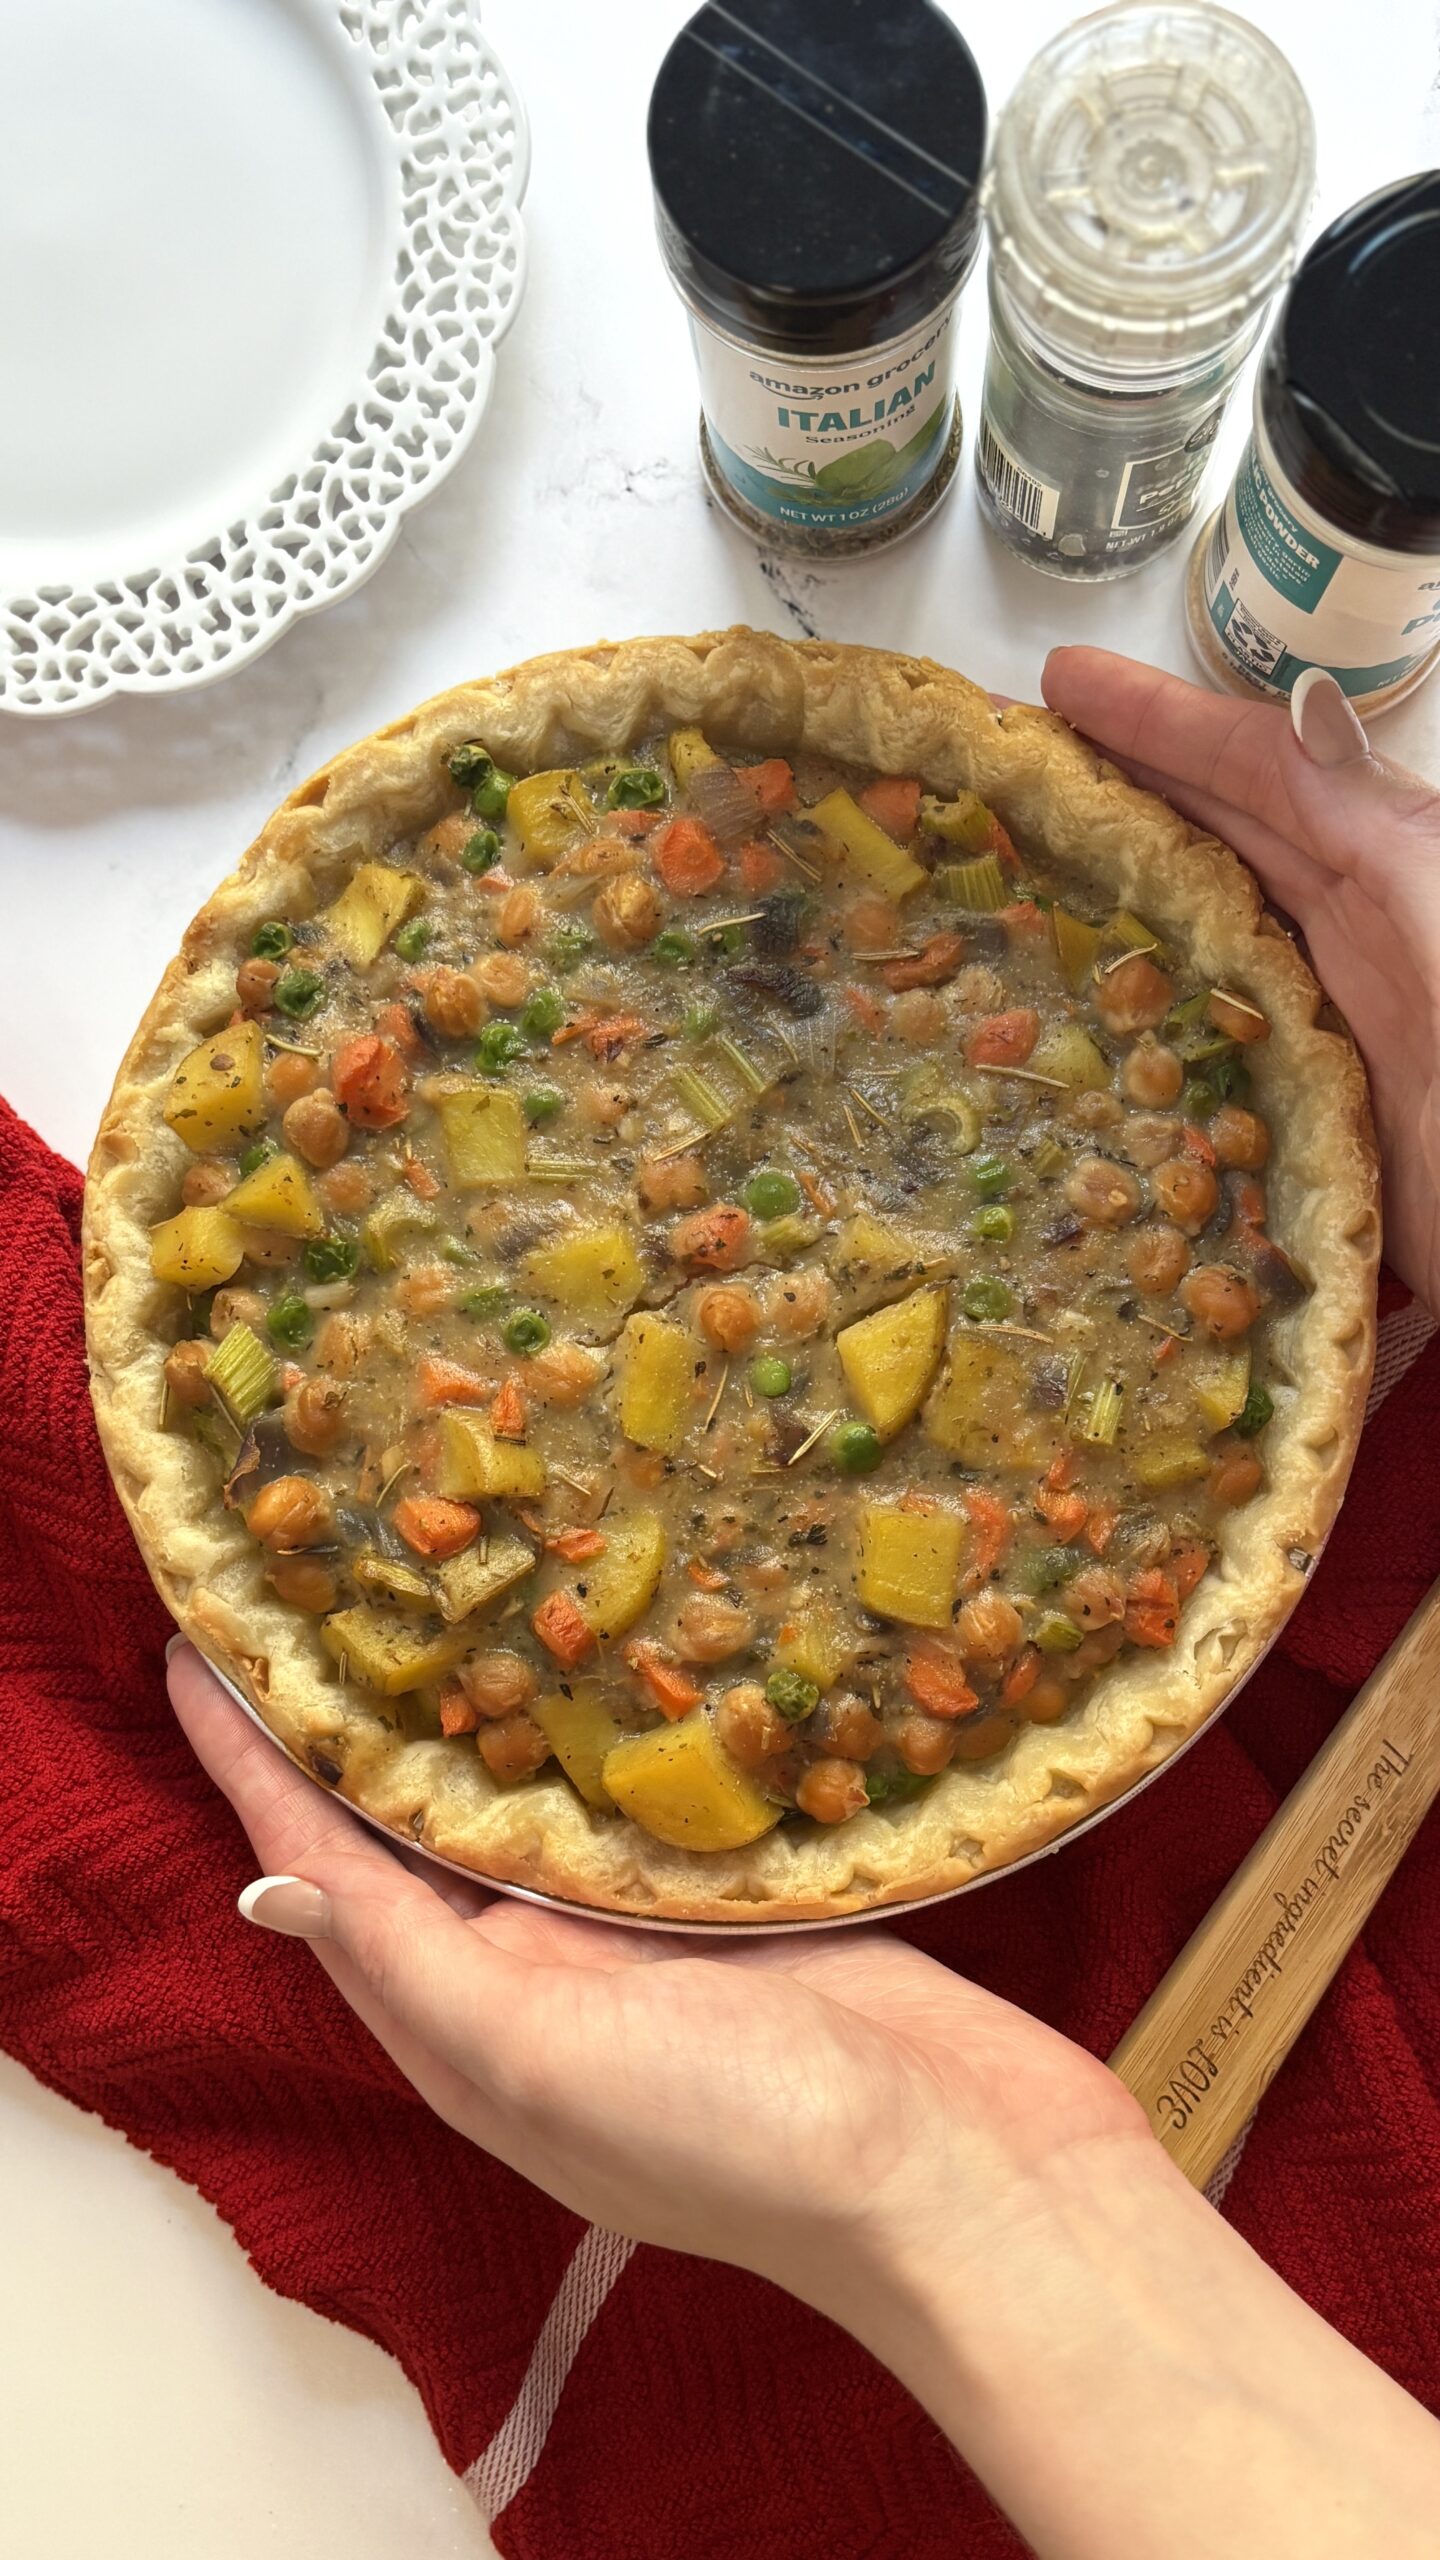
Easy Vegetarian Chickpea Pot Pie
There are some recipes you make once and forget, and others that earn a permanent spot in your rotation. This chickpea pot pie recipe falls firmly into the second category. It’s the kind of meal I come back to again and again, especially when I want something cozy, nourishing, and easy to make, but still worthy of sitting down at the table.
I’ve been making various versions of this pot pie for years, tweaking it slightly depending on what vegetables I have on hand or how much time I have to cook. At the end of the day, though, it’s always the same: a creamy, savory filling packed with vegetables and chickpeas, scooped into a flaky crust and baked until golden. It’s simple, but also incredibly satisfying.
Believe it or not, this was one of the very first meals I ever cooked for my (now) husband: a low-pressure, comforting dinner that felt like a safer bet than anything too experimental. Over the years, it’s been tested time and time again, and (thankfully) still gets requested on a regular basis.
Whether you’re cooking for someone you love, meal-prepping for the week, or just craving a cozy vegetarian dinner, this chickpea pot pie delivers. It’s simple, satisfying, nutritious, and so incredibly easy.
Why you’ll love this recipe
What you’ll need
Serving suggestions

Ingredient substitutions
Recipe tips
- Don’t skip the blind bake; it helps prevent a soggy bottom and keeps the crust nice and flaky.
- Let it rest before serving, which allows the filling to fully set for cleaner slices.
- Cook the filling until thick to help the chickpea pot pie hold together better when sliced and served.
How to make this recipe
- Blind bake the crust: Preheat the oven to 375° F. Line the pie crust with parchment paper and fill with pie weights, dried beans, or granulated sugar. Blind bake for 15-20 minutes, then remove the parchment and weights.
- Sauté onion: Meanwhile, melt the butter in a large skillet over medium heat. Add the onion and cook until softened, about 3-4 minutes.
- Cook the veggies: Stir in the garlic, potatoes, carrots, celery, and peas. Cook for 8–10 minutes, stirring occasionally, until the vegetables are just tender.
- Thicken the filling: Sprinkle the flour over the vegetables and cook for 1 minute, stirring constantly. Gradually pour in the vegetable broth, stirring continuously, and cook until thickened, about 3-5 minutes.
- Add chickpeas and season: Stir in the chickpeas and seasonings. Adjust salt and pepper to taste.
- Assemble: Transfer the filling to the partially baked crust and spread into an even layer.
- Bake and rest: Bake for 30-40 minutes, or until the crust is golden brown. Let rest for 15-20 minutes before slicing and serving.
FAQ
Stay in the loop!
HEALTHY EATING TIPS & RECIPES delivered directly TO YOUR INBOX
More recipes like this
Did you try this recipe?

Chickpea Pot Pie
Ingredients
- 1 frozen or prepared pie crust
- 1 tbsp unsalted butter
- 1/2 medium red onion diced
- 4 cloves garlic minced
- 1 cup potatoes cubed
- 1 cup carrots diced
- 2 stalks celery diced
- 1/2 cup peas
- 1/4 cup all-purpose flour
- 2 cups vegetable broth
- 1 15-oz can chickpeas drained
- 1 tbsp Italian seasoning
- 1/2 tbsp garlic powder
- 1 tsp rosemary
- salt and pepper to taste
Instructions
- Preheat oven to 375° F.
- Blind bake the pie crust by lining with parchment paper and filling with pie weights, dried beans, or granulated sugar. Bake for 15-20 minutes, until the edges are just beginning to set. Remove from the oven and carefully lift out the parchment and weights.
- In a large skillet or sauté pan over medium heat, melt the butter. Add the onion and cook for 3-4 minutes, until softened.
- Add the garlic, potatoes, carrots, celery, and peas and cook for 8-10 minutes, stirring occasionally, until the vegetables are just tender but not browned.
- Sprinkle the flour over the vegetables and stir to coat. Cook for 1 minute to remove the raw flour taste.
- Slowly pour in the vegetable broth, stirring or whisking constantly, and cook for 3-5 minutes, until the mixture thickens into a creamy sauce.
- Add the chickpeas and stir until evenly incorporated.
- Season with spices, then adjust salt and pepper to taste.
- Spoon the filling into the partially baked pie crust and spread it into an even layer.
- Bake for 30-40 minutes, until the crust is lightly golden. Let the pie rest for 15-20 minutes before slicing and serving.
Nutrition
Did you try it?
I’d love to see! Tag @nutrimental on Instagram! #nutrimental