How to Compost at Home: A Complete Beginner’s Guide
This post may contain affiliate links, please read our disclosure policy for details.
Quick summary
Figuring out how to compost might sound difficult, until you realize it really just involves letting nature do what it does best.
Instead of tossing food scraps or yard waste into the trash, composting lets you turn them into rich, healthy soil. It cuts down on household waste, supports the environment, and even helps your garden grow.
Most people believe that composting involves messy bins, unpleasant odors, and a lengthy list of rules and regulations, but in reality, composting at home can be as simple as choosing a spot and saving your scraps, with no expensive equipment or green thumb required.
If you’ve ever been curious about how to compost, you’re in the right place. In this guide, we’ll walk through exactly how to get started, what you can and can’t compost, and easy tips to keep your pile healthy. We’ll also take a closer look at the benefits of composting, how it works, and how you can try it at home, even without any outdoor space.
What is composting?
Compost is a type of organic material and fertilizer added to soil to help plants grow.
It can be prepared at home by collecting natural materials (such as food scraps, grass, or leaves) and letting them decompose naturally.
This typically involves creating a compost heap or pile outdoors and slowly adding materials over time.
However, you can also start composting even without any outdoor space using countertop composting kitchen appliances or by delivering your compostable materials to a local composting program.
Benefits of composting
There are plenty of reasons to consider composting at home.
For starters, composting is a great way to reduce waste and decrease your carbon footprint by reusing natural materials that you may have otherwise discarded.
It’s also an excellent alternative to synthetic fertilizers (many of which are laden with harmful chemicals) and can help your backyard garden blossom.
Additionally, compost can improve soil quality by helping it retain more moisture and beneficial nutrients.
According to the Environmental Protection Agency (EPA), composting also decreases soil erosion, eases compaction, and protects against disease and pest infestations in plants.
What can you compost?
Compost is comprised of two main types of material: greens and browns. A good balance of each type of material is crucial for composting.
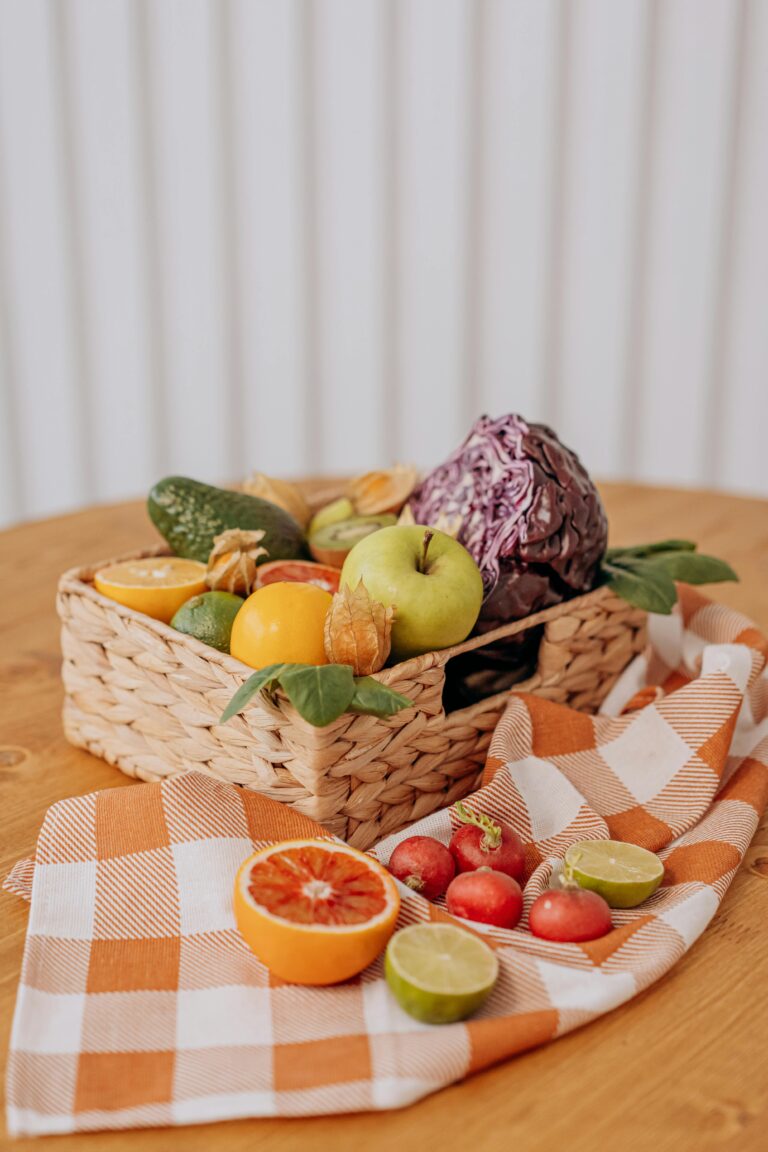
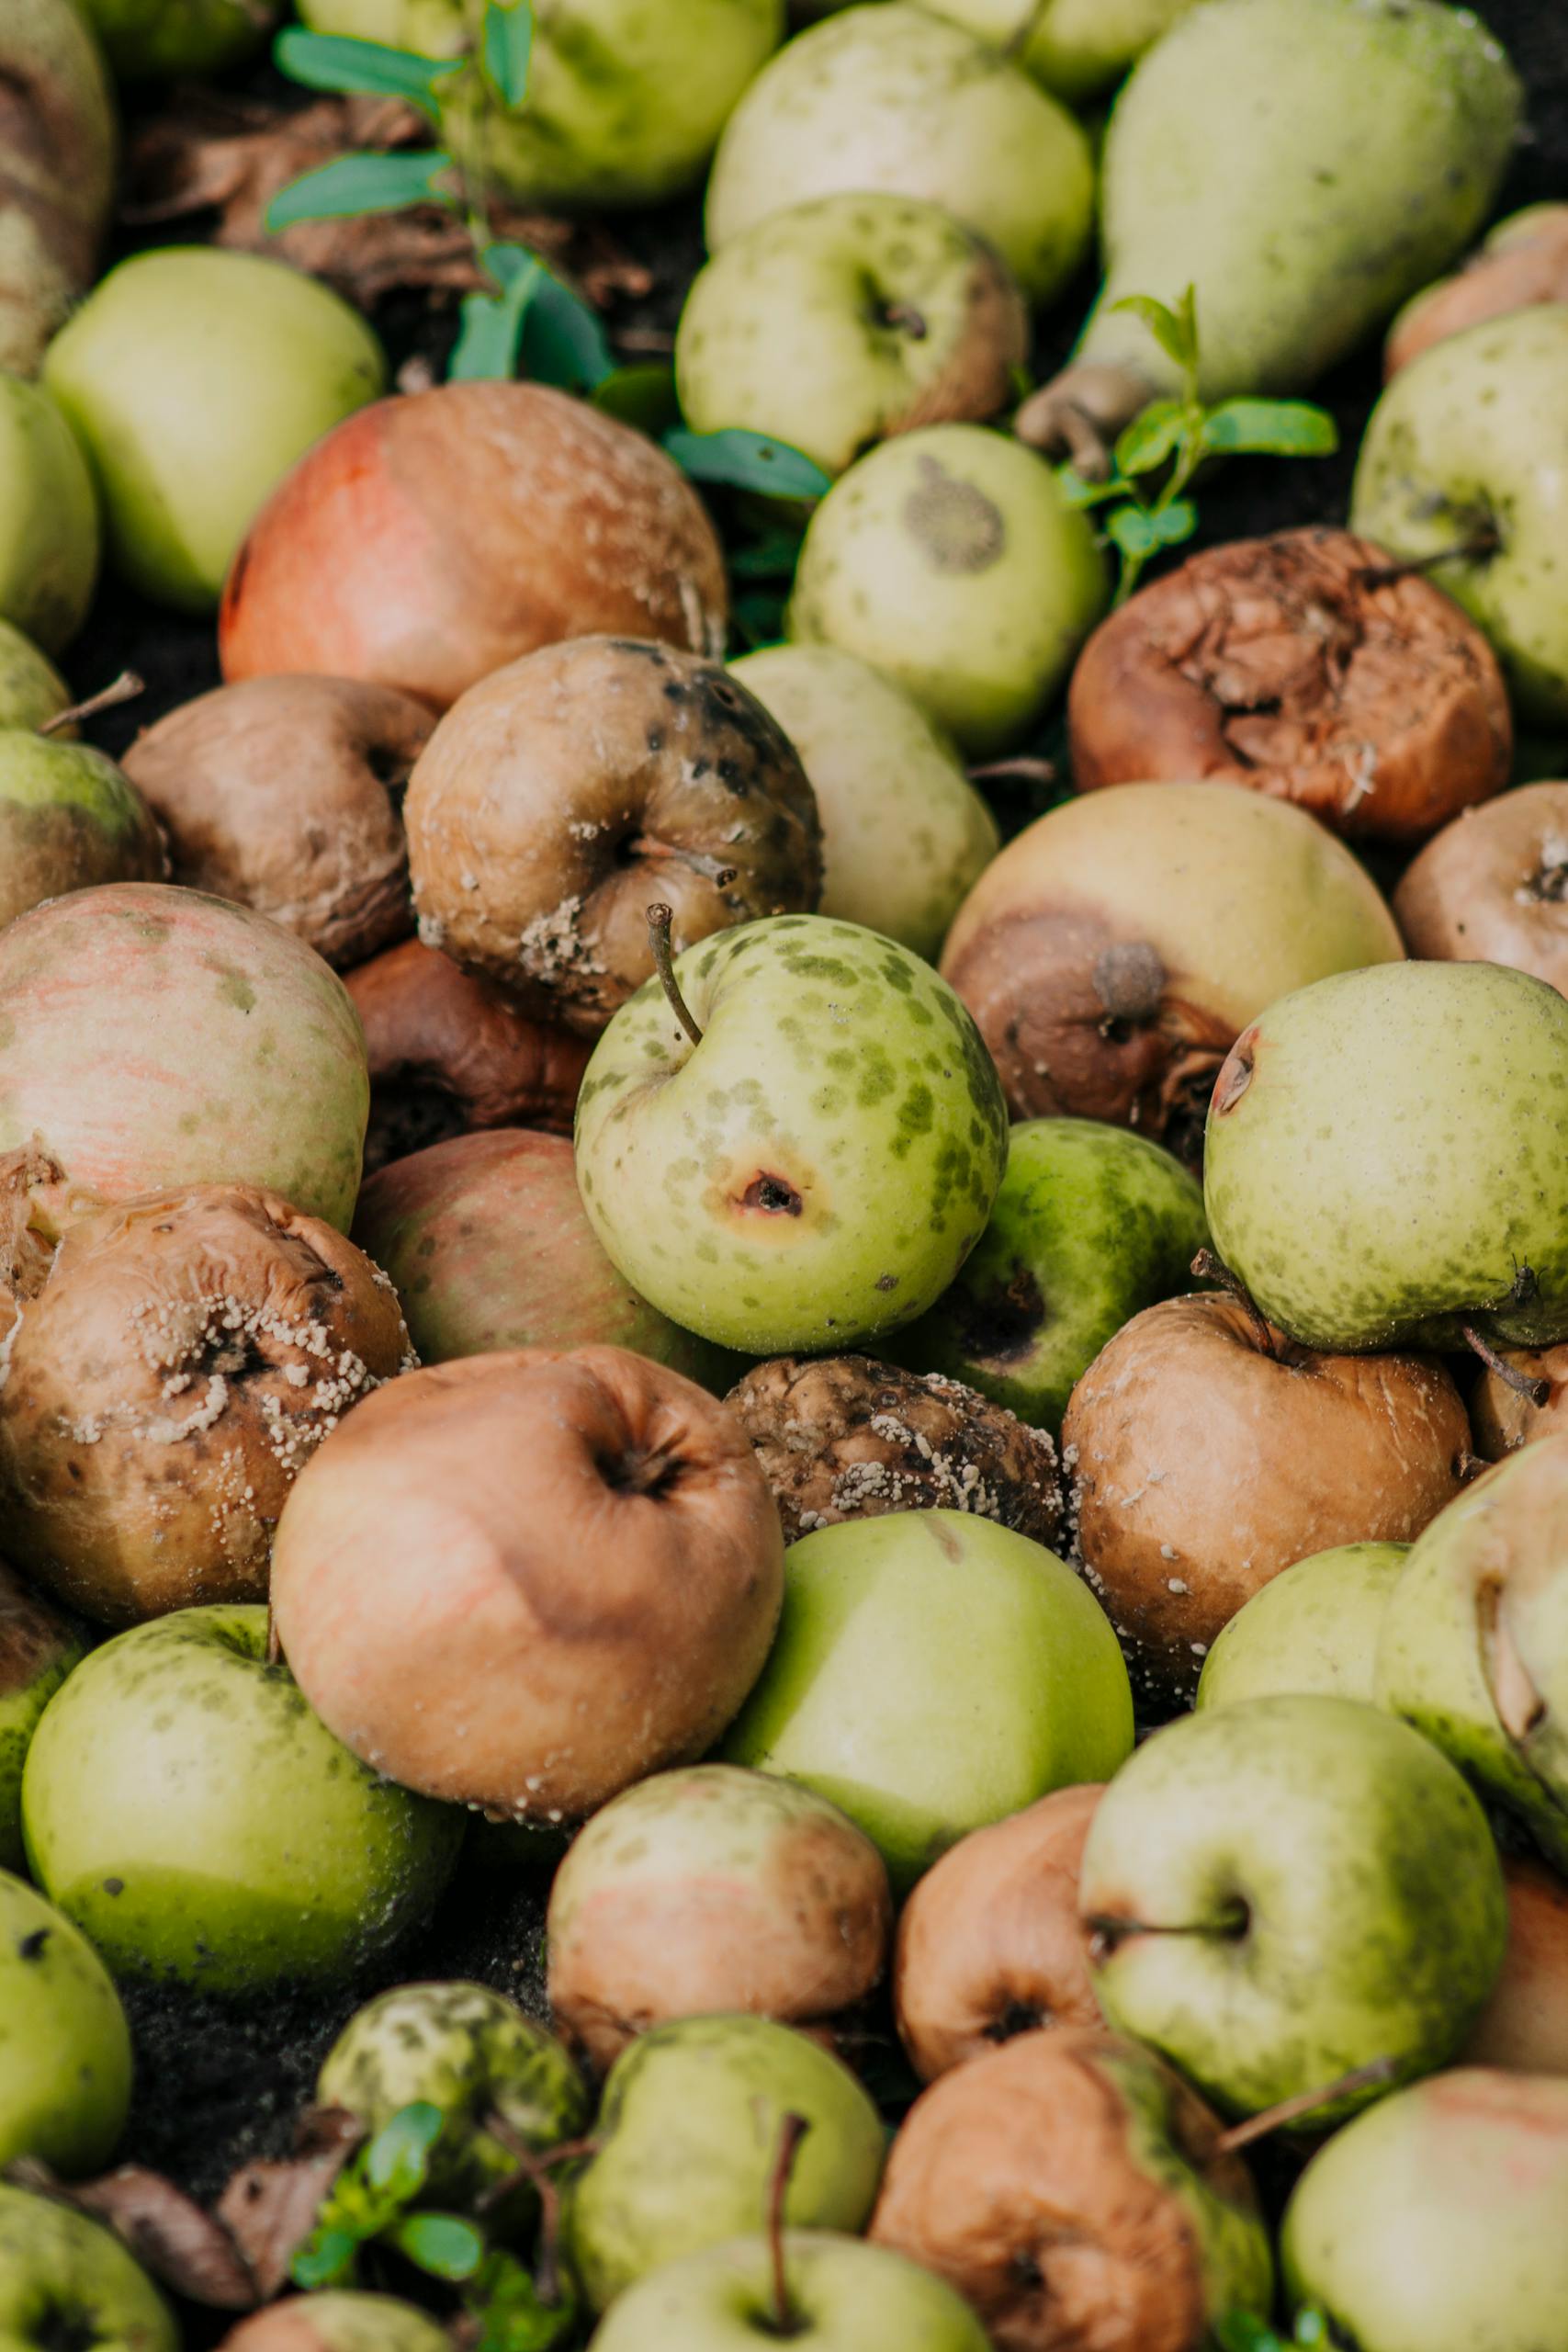
- Greens: Materials high in nitrogen or protein support the growth of microorganisms and help heat the compost pile. Some examples include fruit and vegetable scraps, coffee grounds, or grass clippings.
- Browns: These carbon-rich materials provide fuel for the microorganisms in your compost pile to speed up decomposition. They also add bulk to the pile and increase air flow. A few examples of browns include dry leaves, branches, or cardboard.
Ideally, your compost pile should have an equal amount of browns and greens. However, there’s no need to measure or track the amounts precisely to compost successfully, so eyeballing it works just fine.
What to compost
Generally, most types of organic material can be added to your compost pile. Here are a few specific materials that can be composted:


What not to compost
Though it may seem tempting to start piling materials on your compost pile, not everything can be composted. Here are some items that you should avoid composting:
How to compost at home
Once you’re ready to start composting, use this simple, step-by-step guide to get going.
1. Determine the best location
Before you begin composting, it’s important to determine where you’d like to build your compost pile.
It’s best to choose a well-drained, warm outdoor area with partial shade that’s away from pets and wildlife.
You should also leave room for growth if you plan to expand in the future and consider whether it’s near a water source, such as a hose, as the pile needs to be kept moist.
Make sure you have enough space as well. Ideally, aim for an area that is at least 3 feet in height and width, which ensures that your compost bin will be able to retain enough heat to aid the decomposition process.
Alternatively, you can try using a compost tumbler, which can be easily rotated to mix the materials while reducing moisture and retaining heat.
2. Start adding layers
Once you’re ready to start composting, you can begin placing materials in your bin or pile.
As a general rule of thumb, try alternating between layers of greens (such as food scraps or grass clippings) and browns (including cardboard, twigs, and paper).
Layering makes it much easier to ensure that you’re maintaining the right ratio of carbon- and nitrogen-rich materials, which can help accelerate the decomposition process.
To get started, place a 4-8 inch layer of brown materials at the bottom of your pile. In addition to ensuring adequate draining, this also promotes airflow.
Next, add a layer of green materials, followed by a layer of brown materials, and repeat until your bin is full. To keep your compost heap moist, you should also add some water to each layer as you progress.
3. Turn the pile
Regularly rotating or turning your compost pile is important for maintaining moisture and dispersing air evenly throughout the materials.
If you’re using a compost tumbler, simply spin or crank the bin a few times per week. If you have a compost pile, use a pitchfork or shovel to mix the materials instead.
While the frequency with which you need to rotate your pile can vary based on many factors — including the size and moisture levels — it’s generally recommended to turn the pile once or twice per week.
4. Maintain moisture levels
Moisture is important for the decomposition process.
In some cases, your compost pile may get enough moisture from the rain alone. However, you may also need to add extra water from time to time.
You can also adjust the moisture levels by tweaking the ratio of brown and green materials in your compost pile. Add more greens if the pile is too dry or place extra brown materials when it feels too soggy.
5. Wait until it’s ready
Though compost may be ready to use in as little as six weeks, it can also take up to a year or even longer until it has fully decomposed.
The amount of time that it takes can vary based on factors like the weather, moisture levels, the size of your compost pile, and the types of materials that you use.
Compost that is fully decomposed and ready to use typically has a rich, earthy smell, a dark brown color, and crumbly, uniform texture.
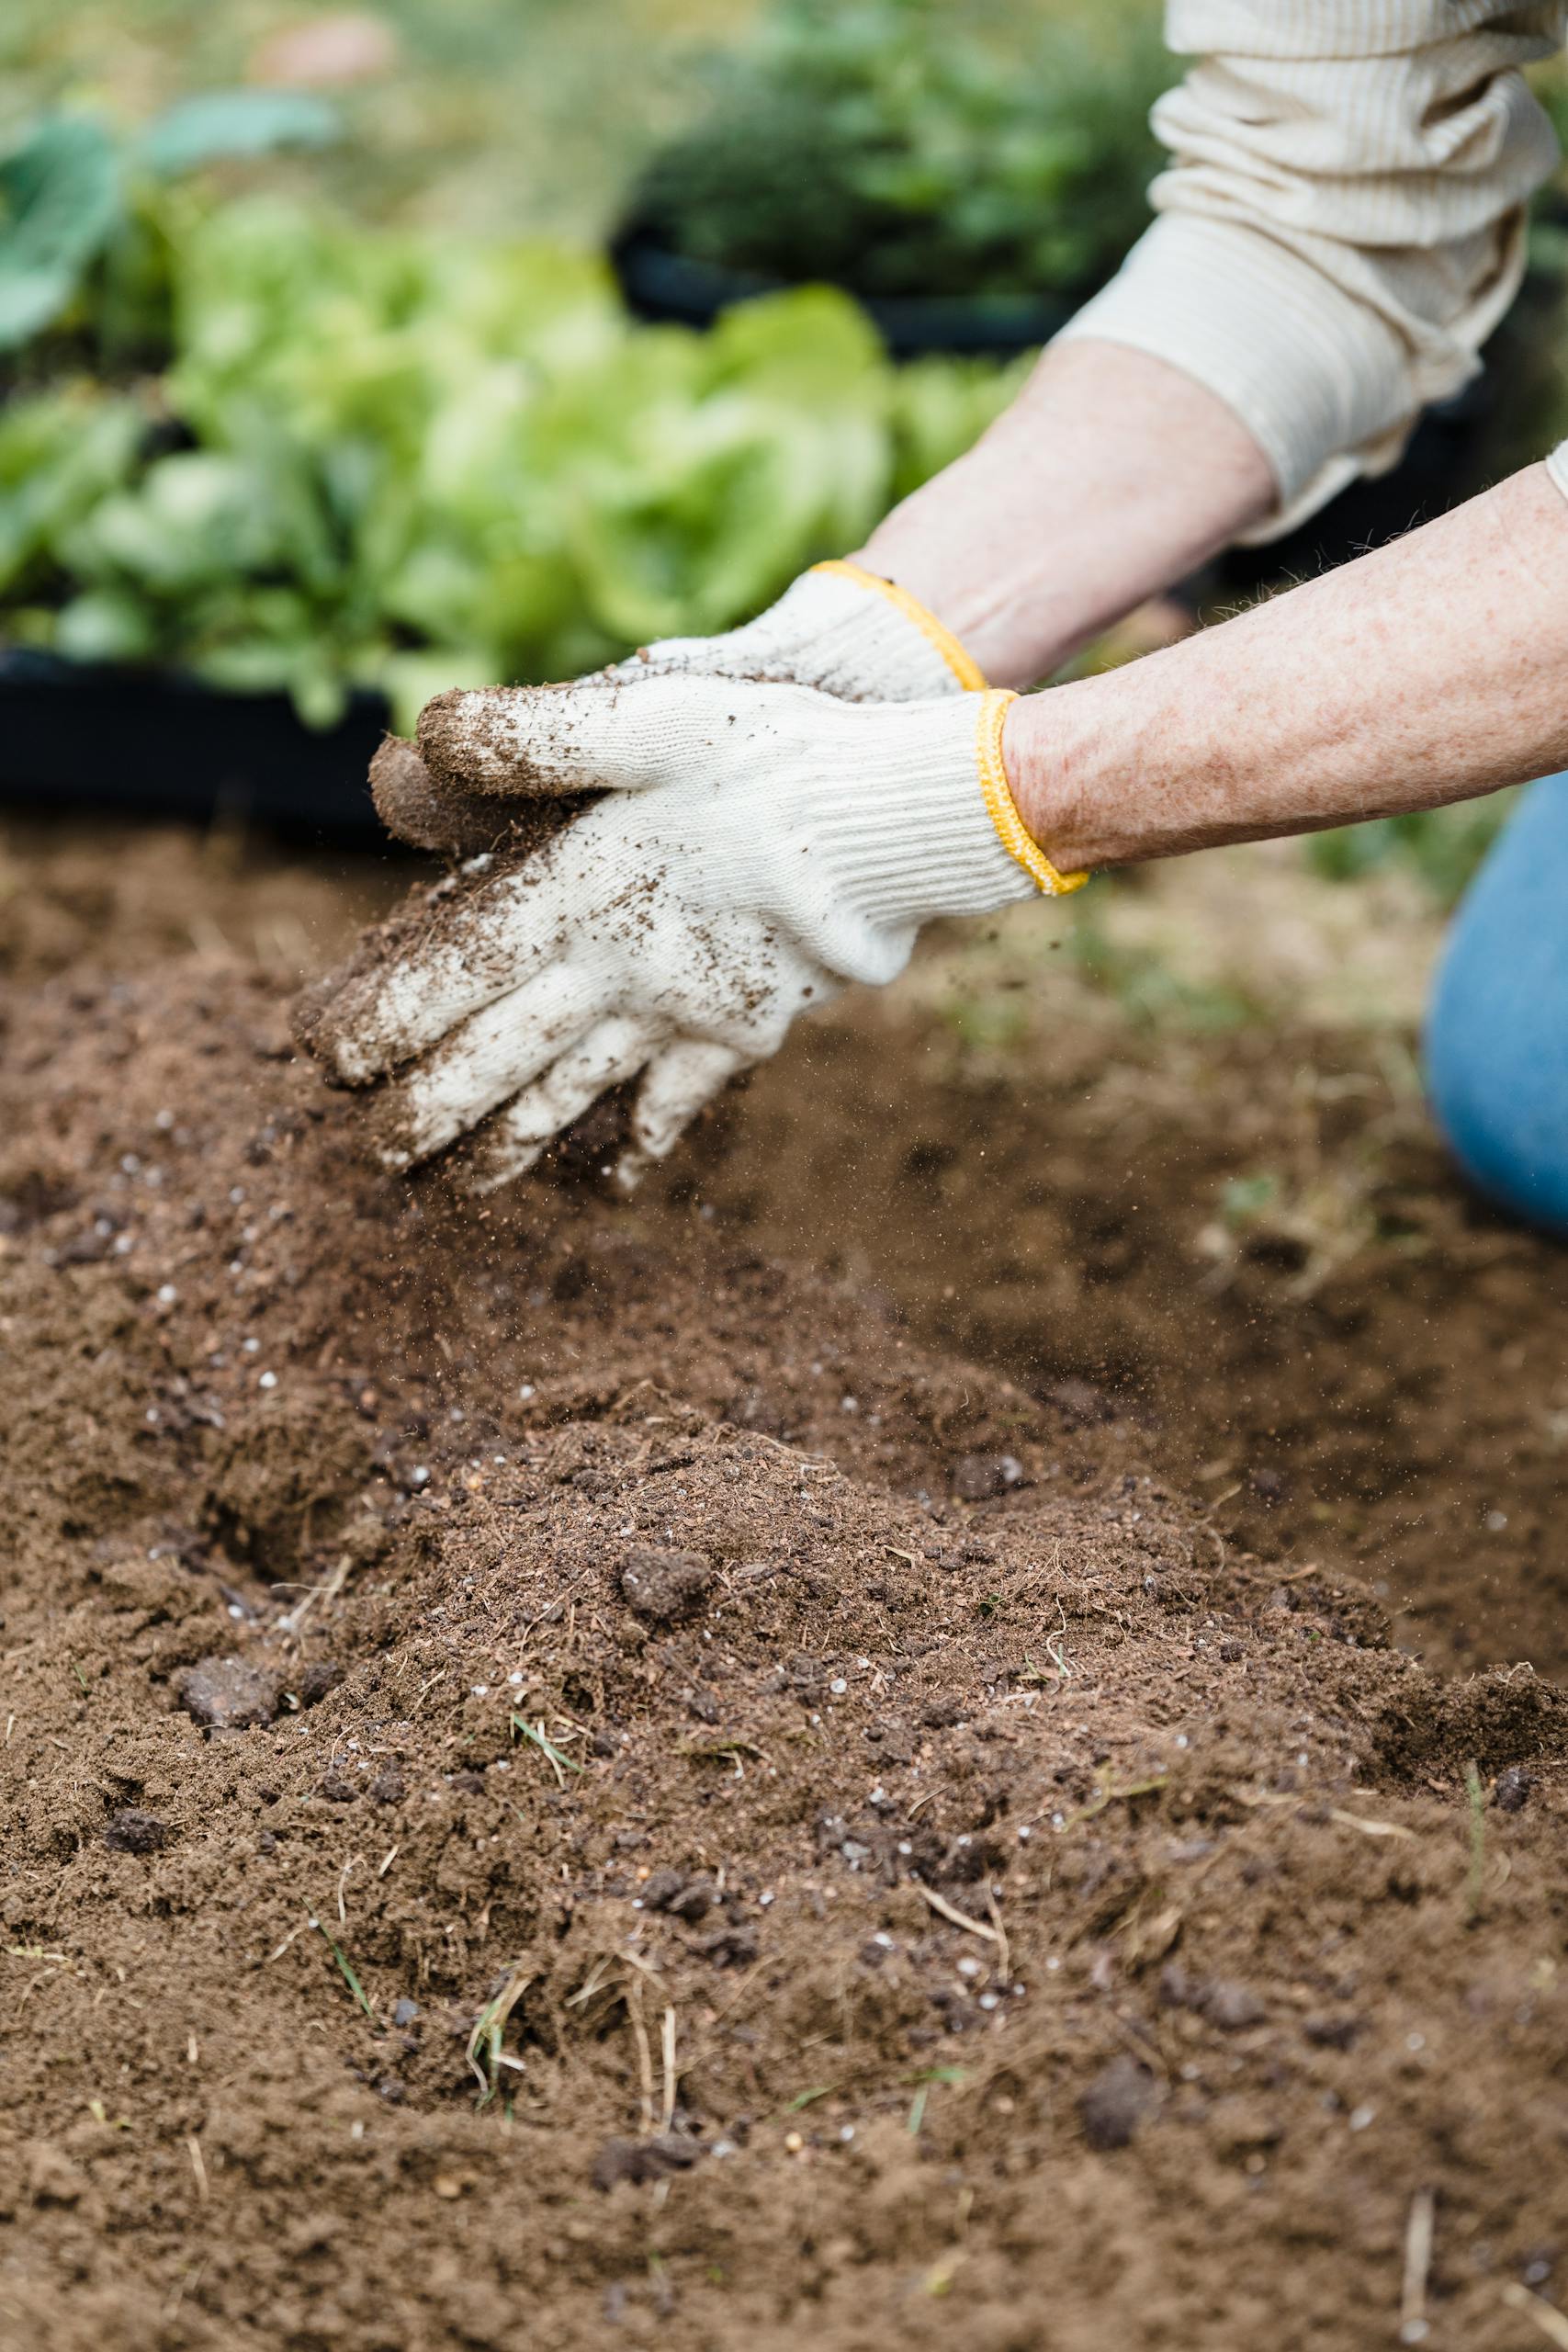
6. Use your compost
Compost can be used as an organic mulch or mixed into the top few inches of soil in your garden.
You can also use compost to top-dress lawns or to help grow newly planted flower bulbs.
Alternatively, try making your own compost tea by steeping compost in water for 1-2 days and then straining and spraying it onto plants.
Stay in the loop!
HEALTHY EATING TIPS & RECIPES delivered directly TO YOUR INBOX
Composting without a yard
While composting indoors may be more challenging, there are a few ways you can start composting at home, even without any outdoor space.
If you live in an apartment, you can collect food scraps in a small composting bin, which can be stored under the sink, on your kitchen counter, or in your freezer.
Many communities provide composting programs, some of which offer curbside recycling for compost or allow you to drop off your food scraps at a local facility.
Certain local farms or gardens, markets, and composting centers may also accept materials, though you should call first to ask.
While pricey, there are also several countertop kitchen appliances that make it easy to transform food scraps into fertilizer within a matter of hours. The Vitamix Food Cycler, for instance, can hold up to 2 liters and works in just 4-8 hours.
FAQ
Shop tools to get started

Tumbling Compost Bin 
Compost Bin Bags 
Compost Science Book 
Compost Bin
Conclusion
Composting is a great way to cut down on food waste and provide beneficial nutrients for your garden.
It’s also easy to get started, even if you don’t have a big backyard or any fancy equipment.
Pick a place to collect scraps, start adding layers, and let nature take care of the rest.
Within a few weeks or months, you’ll start to see your scraps transform into dark, crumbly compost ready to nourish your garden.