How to Make Kombucha: Everything You Need to Know
This post may contain affiliate links, please read our disclosure policy for details.
Kombucha is a lightly fizzy, tangy tea that has been enjoyed for centuries for its unique flavor and potential health benefits. Made by fermenting sweetened tea, kombucha is loaded with antioxidants and gut-friendly probiotics.
I’ve been making kombucha at home for years now and have loved experimenting with different flavors, sweetness levels, and carbonation. Learning how to make kombucha at home opens the door to endless creativity and a completely customizable beverage.
Brewing kombucha is surprisingly simple, and with just a few basic ingredients, you can create a batch tailored to your taste buds. In this guide, we’ll cover everything you need to know, from the benefits of kombucha and how to make it, to flavoring tips and solutions for a few of the most common issues.
Benefits of kombucha
Kombucha is a naturally fermented tea known for its unique tangy flavor and potential health perks. Made by fermenting sweetened tea with a symbiotic culture of bacteria and yeast (SCOBY), kombucha transforms a handful of ordinary ingredients into a probiotic-rich beverage that supports gut health, aids digestion, and even offers antioxidants.
A few possible benefits of kombucha include:
- Promotes gut health: Contains probiotics that help maintain a healthy balance of gut bacteria.
- Aids digestion: The natural acids and enzymes found in kombucha can help improve digestion.
- Provides antioxidants: Tea-based kombucha offers antioxidants that help fight harmful, disease-causing compounds known as free radicals.
- Enhances immunity: By supporting the health of your gut microbiome, kombucha may also give your immune system a boost.
Making your own kombucha at home is also easy and fun, allowing you to get creative in the kitchen and experiment with new flavors. Plus, it might even save you some money in the long run, especially if you’re regularly drinking store-bought kombucha at $2-$4 per bottle.
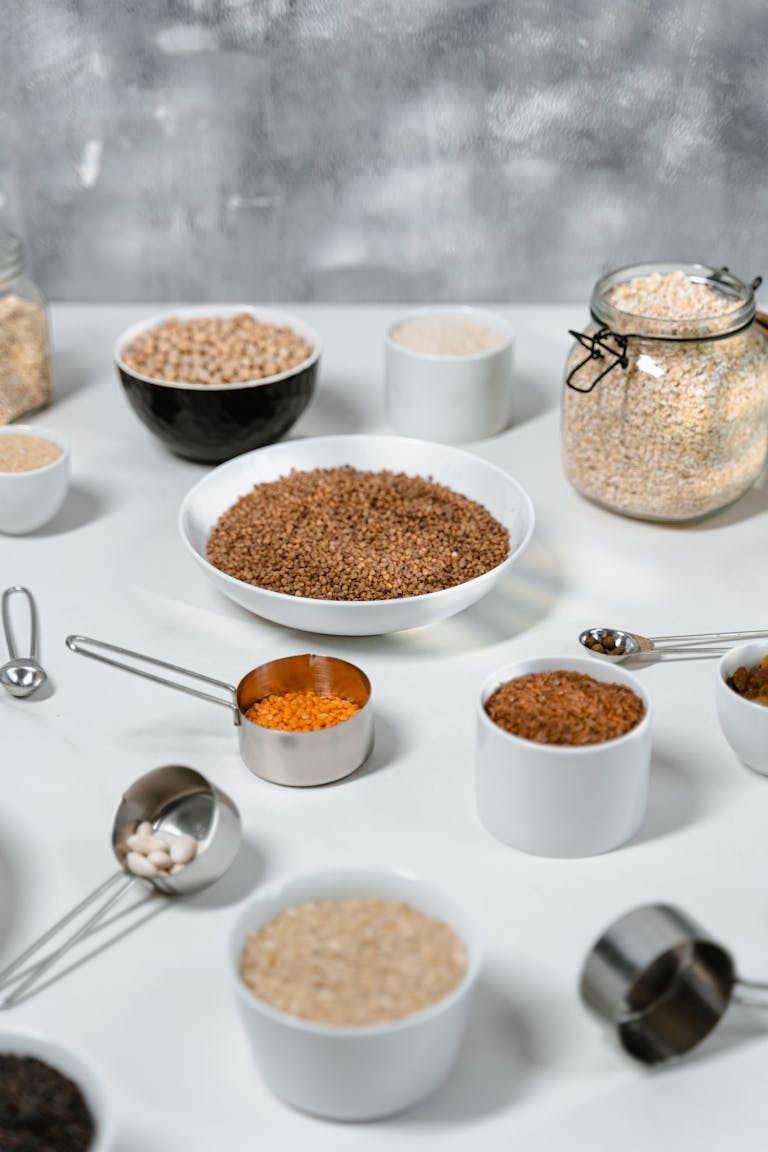
What you’ll need
Step-by-step beginner guide
Ready to make your first batch? Here’s a beginner-friendly, step-by-step guide on how to make kombucha.
Note: These amounts are for a 1-gallon batch of kombucha. For other batch sizes, see the conversion table below
1. Brew the tea
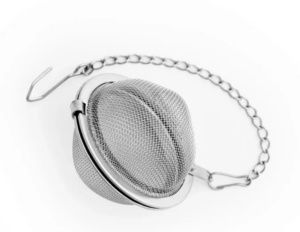
Bring 4 cups of water to boil. Remove from the heat and add 2-3 tablespoons of loose leaf tea (or 6-8 tea bags). Let it steep for 10-15 minutes.
2. Add sugar
Remove the tea bags or loose leaf tea and add 1 cup of sugar. Stir it in thoroughly to prevent the sugar from settling at the bottom.
3. Let it cool
Let the sweet tea mixture cool to room temperature. Usually, this takes between 15-30 minutes.
4. Add everything to a jar
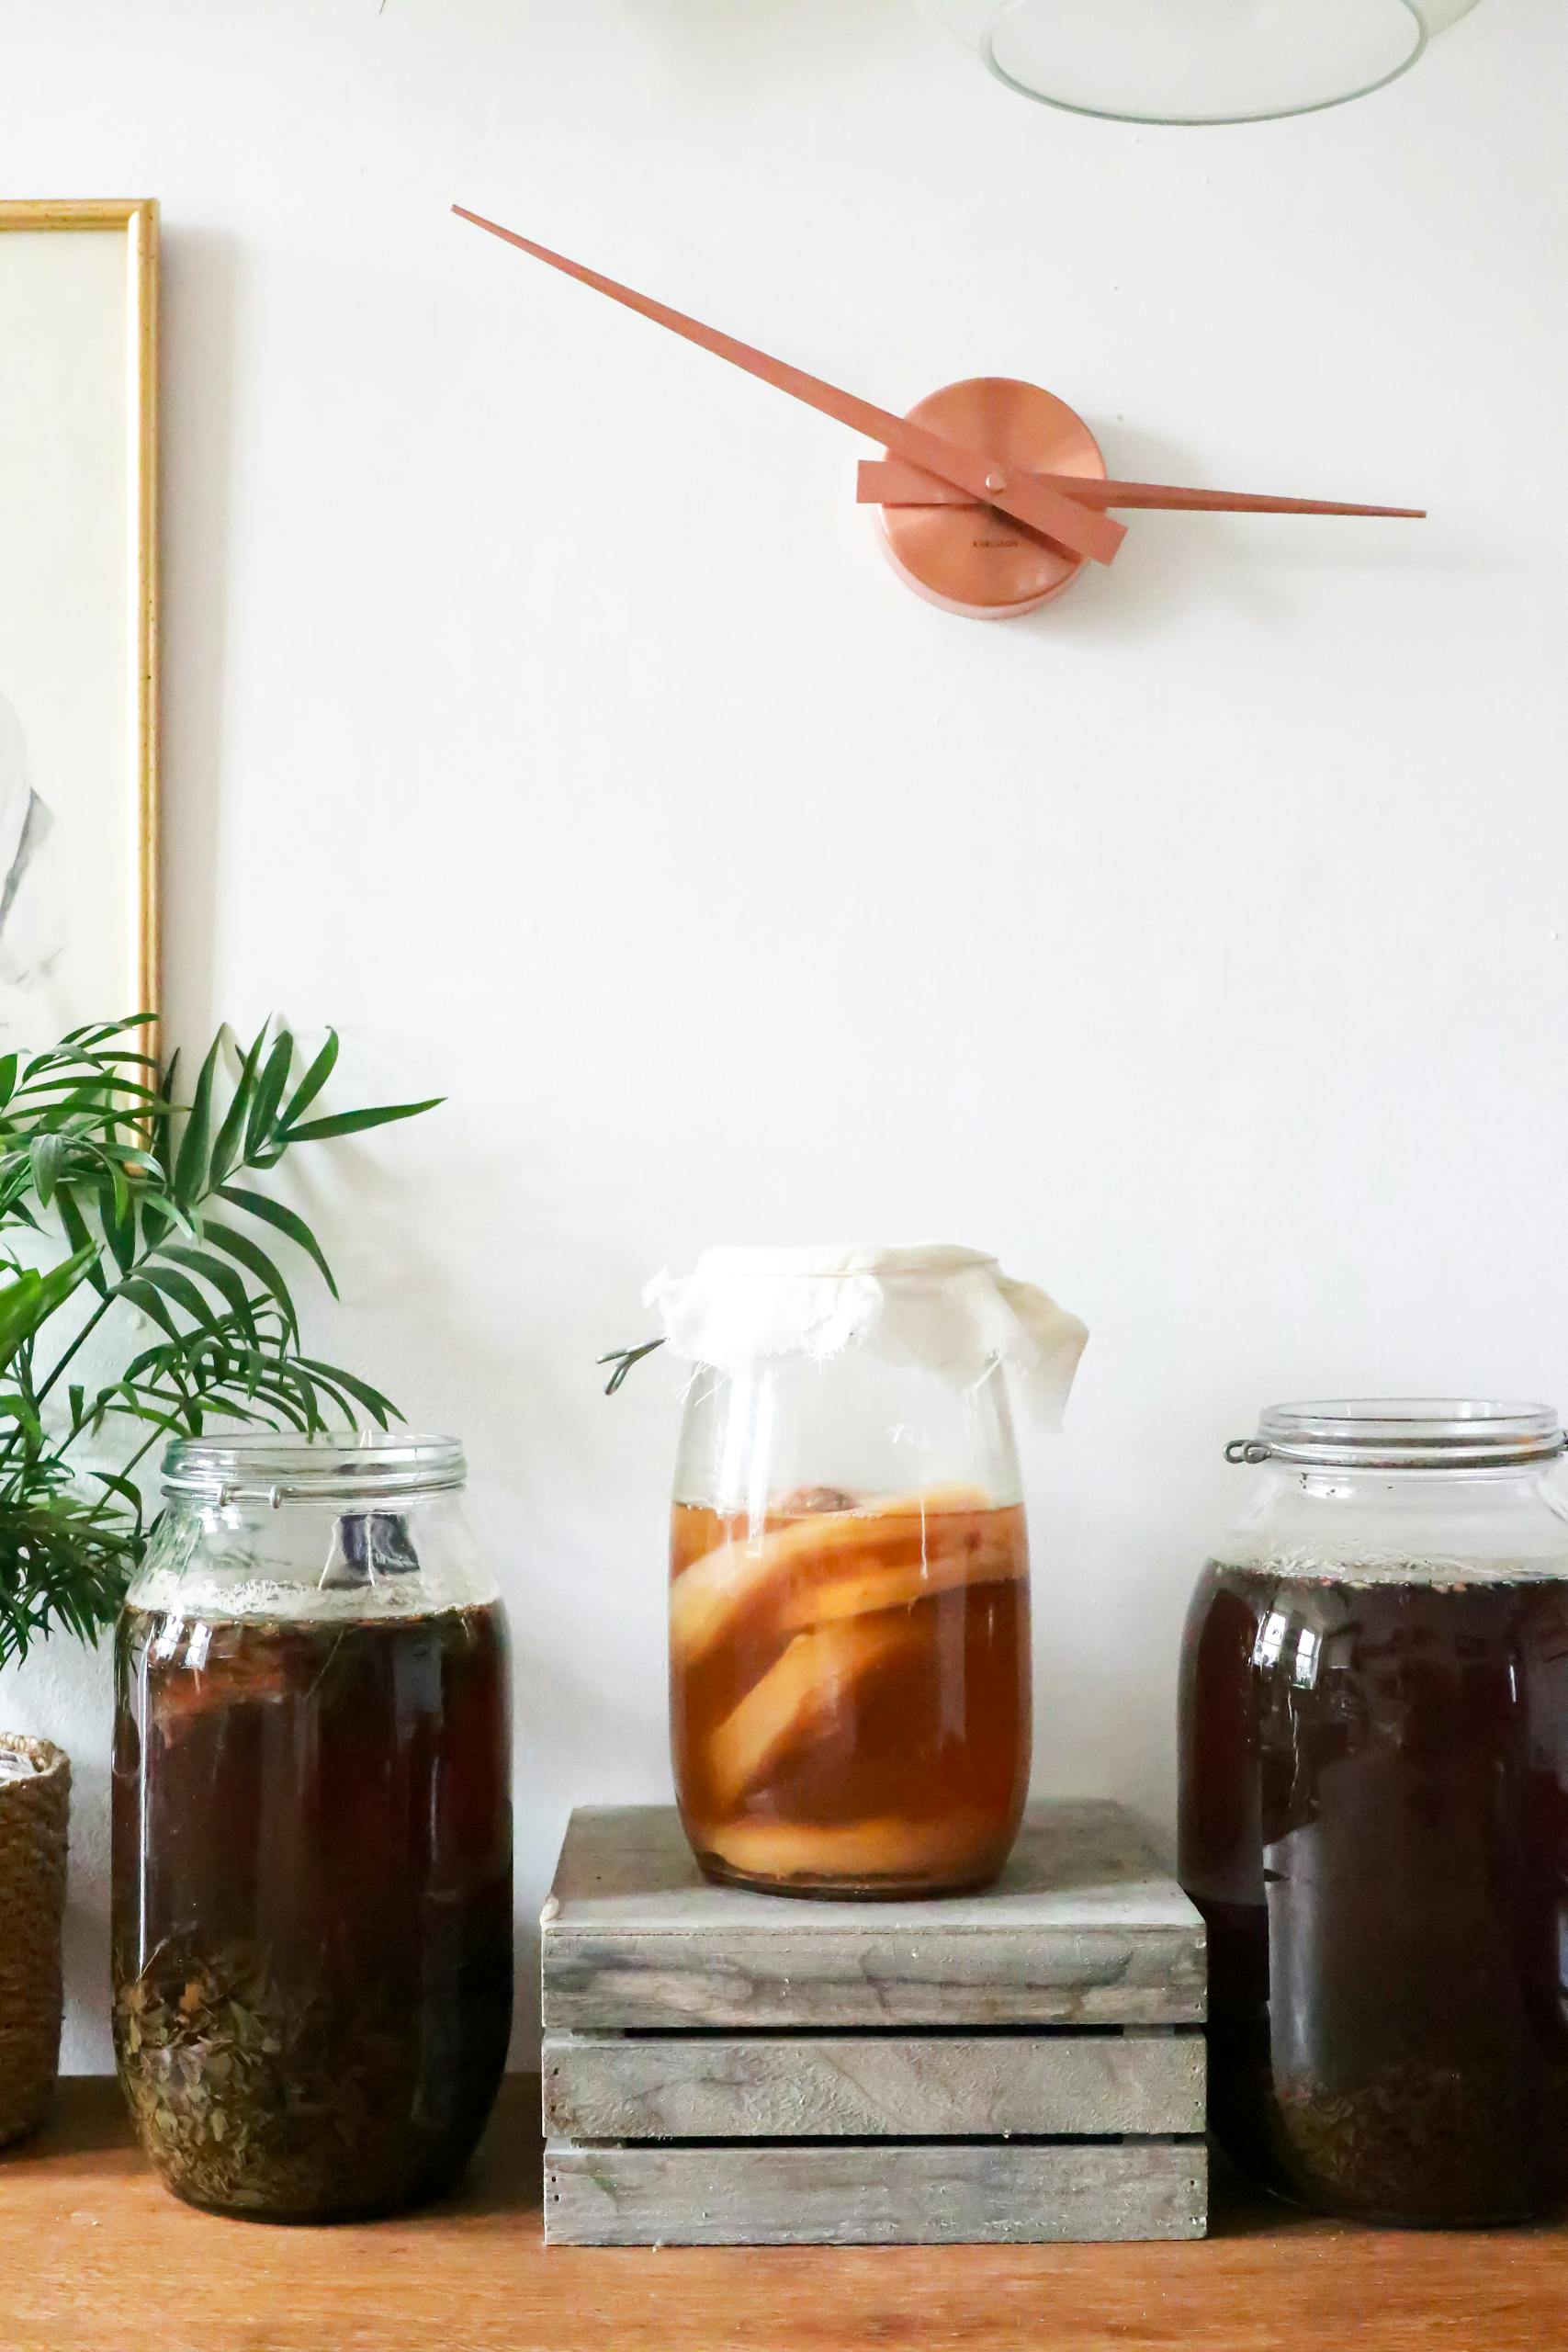
Add sweet tea to a clean, 1-gallon glass jar, along with 8 cups of cool, room temperature water and 1 cup of starter tea (aka plain, unflavored kombucha). Next, add your SCOBY. Then, cover it with a tea towel, coffee filter, or other thin, breathable cloth and secure with a rubber band. Store the jar at room temperature in a spot away from direct sunlight.
5. Let it ferment
Let it sit for around 7-14 days. After one week, you can give it a taste to see if it’s ready. The longer you let it ferment, the less sweet and more tart it becomes.
6. Bottle and ferment again
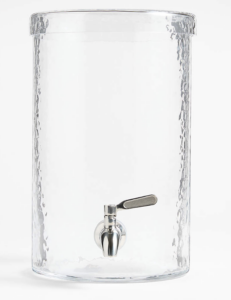
Once it’s ready, use a funnel or dispenser to pour kombucha into glass bottles, leaving about 1-inch of headspace. Make sure to reserve 1-2 cups of kombucha as your starter tea for your next batch. As soon as you’ve bottled your kombucha, you can start brewing your next batch in the glass jar!
If you want to experiment with flavors, this is the time to do it. Fruit juice, chopped fruit, or sliced ginger are a few of my favorites (check out more ideas below!). Add flavorings if desired, seal the bottles, and let them sit at room temperature for 2-3 more days.
This second round of fermentation is optional, but recommended — it helps it get more fizzy and gives your kombucha a cleaner taste.
7. Refrigerate and enjoy
Once carbonated and flavored to your liking, move your bottles to the fridge. Chilling slows fermentation and stabilizes flavor. Enjoy!
Batch size conversion
Depending on how much kombucha you’re brewing, you might need to adjust the amounts of your ingredients. Here’s a quick conversion guide to make it easier.
Starter tea: 1/2 cup
Filtered water: 2 cups (to boil) + 4 cups (to add to the jar)
Cane sugar: 1/2 cup
Black or green tea: 1-2 tbsp loose leaf, or 3-4 tea bags
Starter tea: 1 cup
Filtered water: 4 cups (to boil) + 8 cups (to add to the jar)
Cane sugar: 1cup
Black or green tea: 2-3 tbsp loose leaf, or 6-8 tea bags
Starter tea: 2 cups
Filtered water: 8 cups (to boil) + 16 cups (to add to the jar)
Cane sugar: 2 cups
Black or green tea: 4-6 tbsp loose leaf, or 12-16 tea bags
Troubleshooting
Flavor ideas
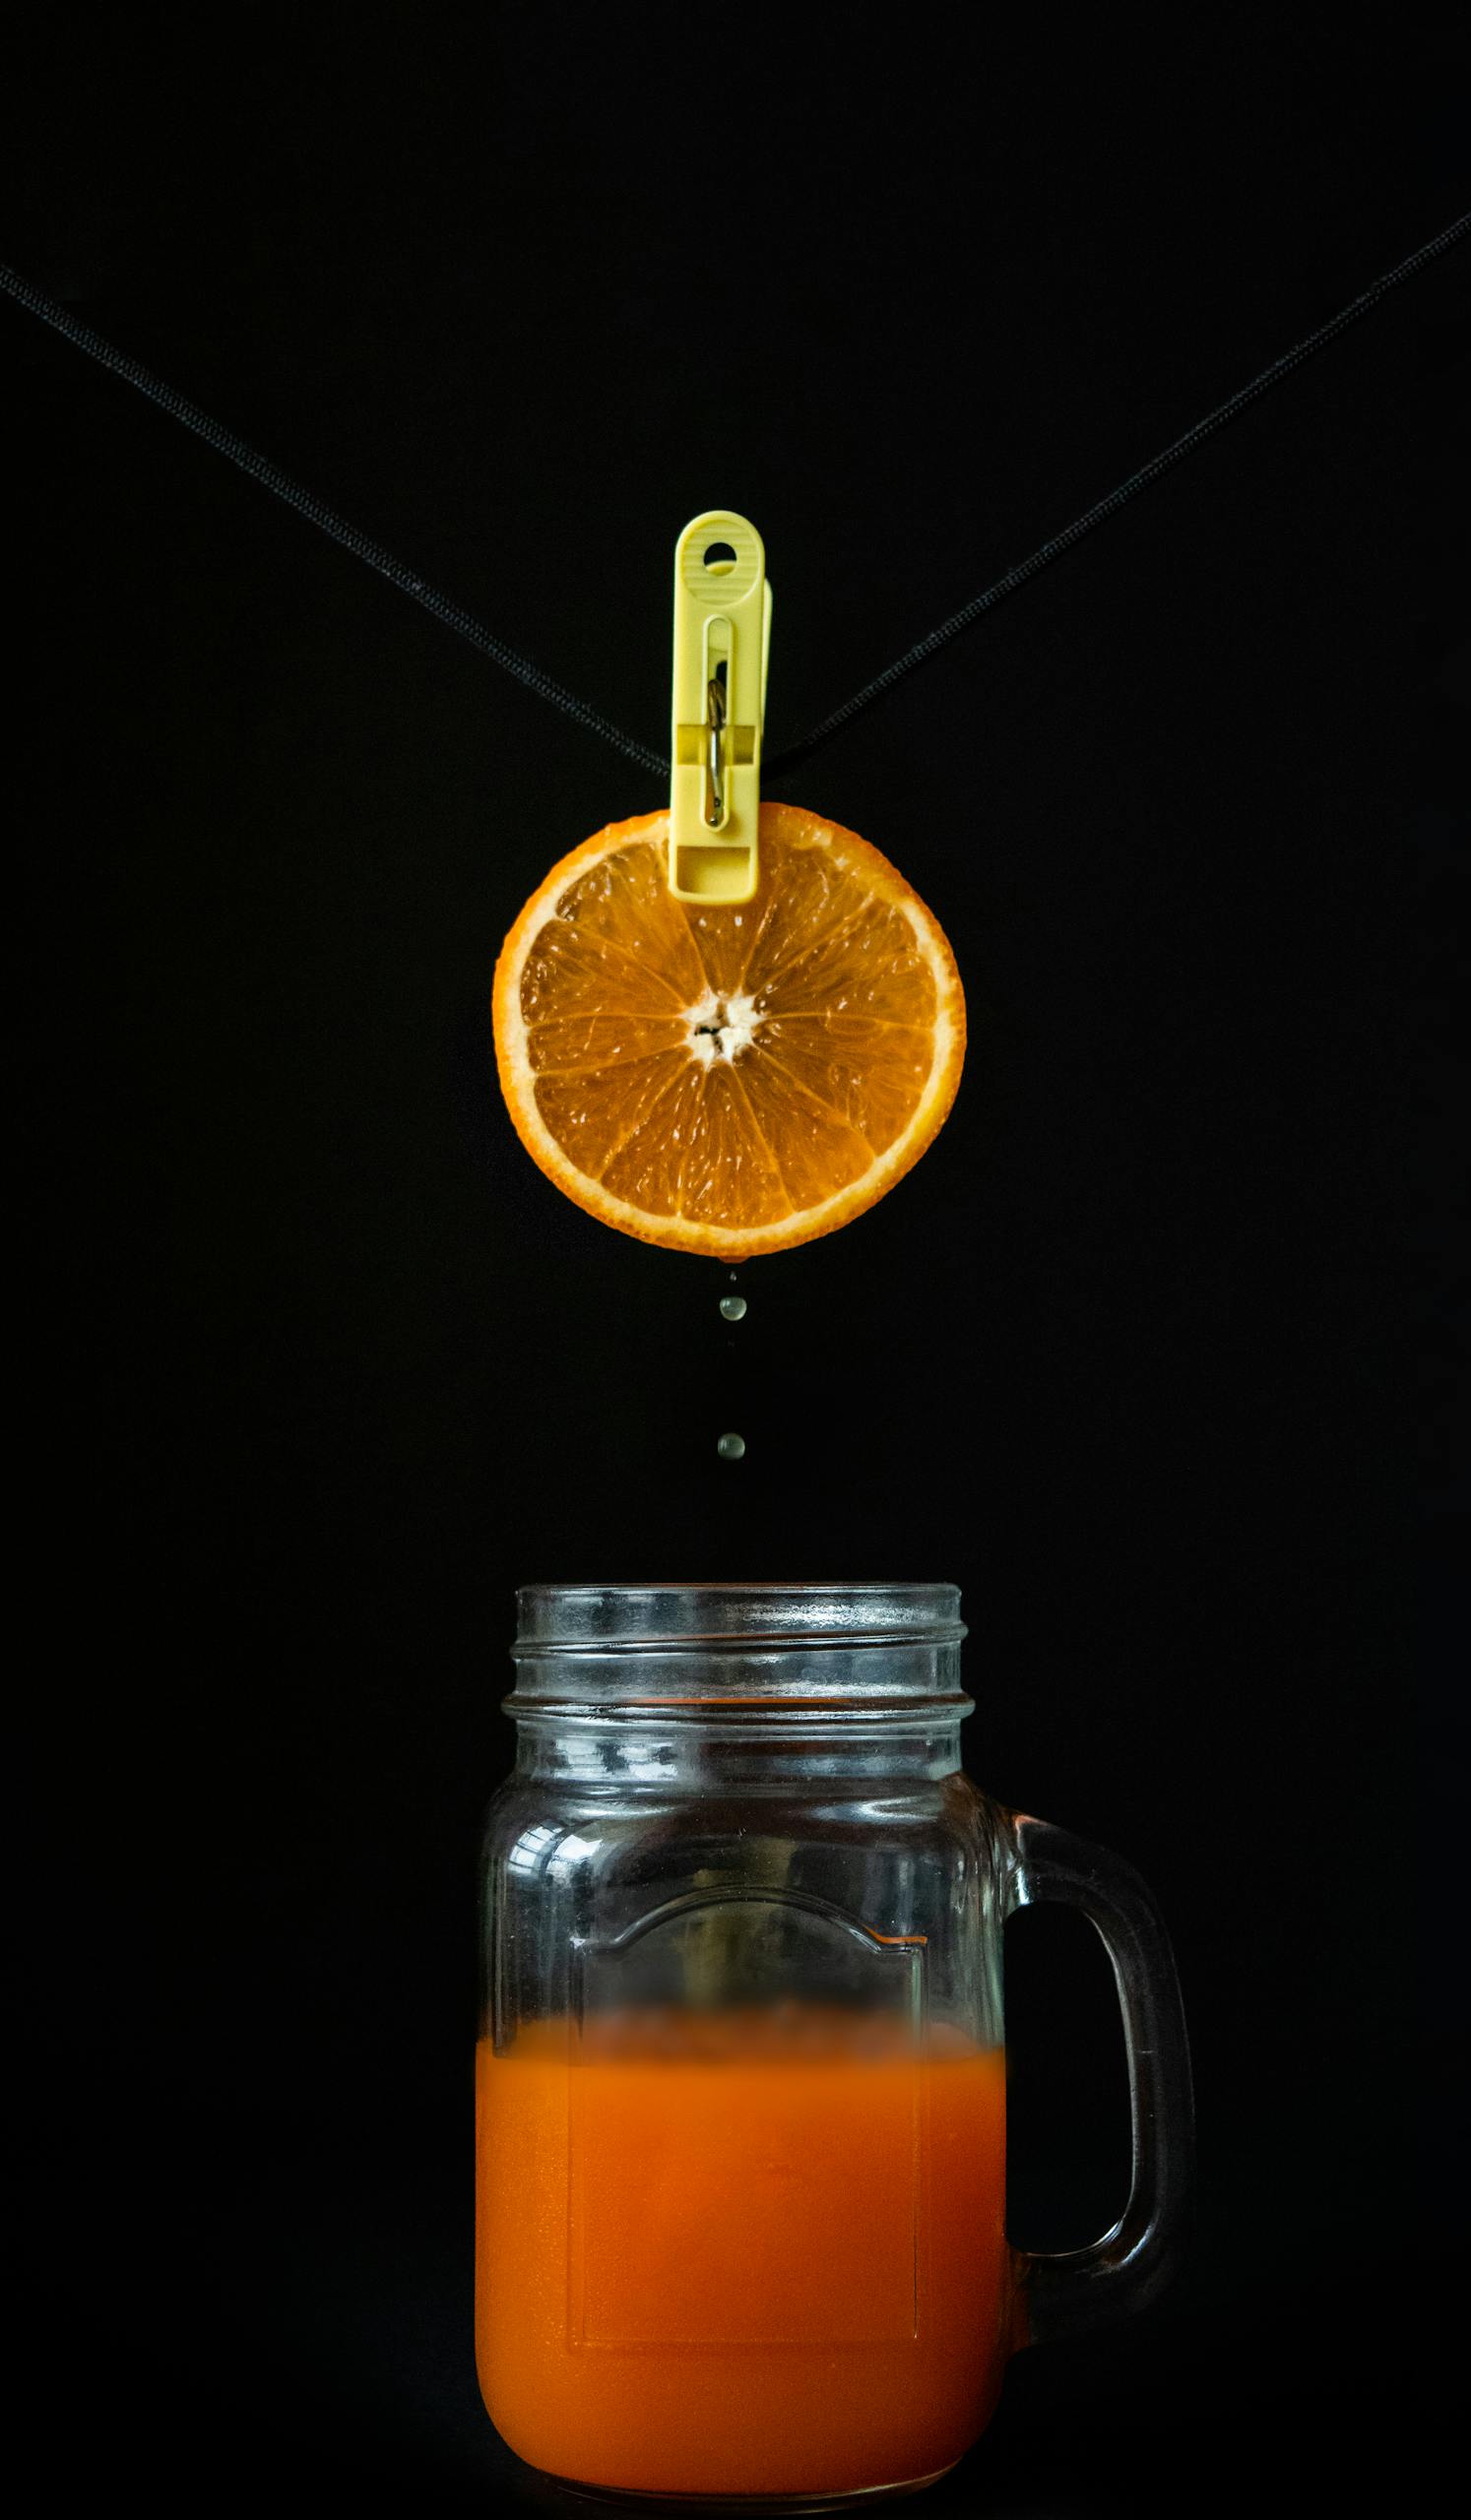
You can give your homemade kombucha a fun twist by adding natural flavors during the second fermentation. Here are a few tasty options:
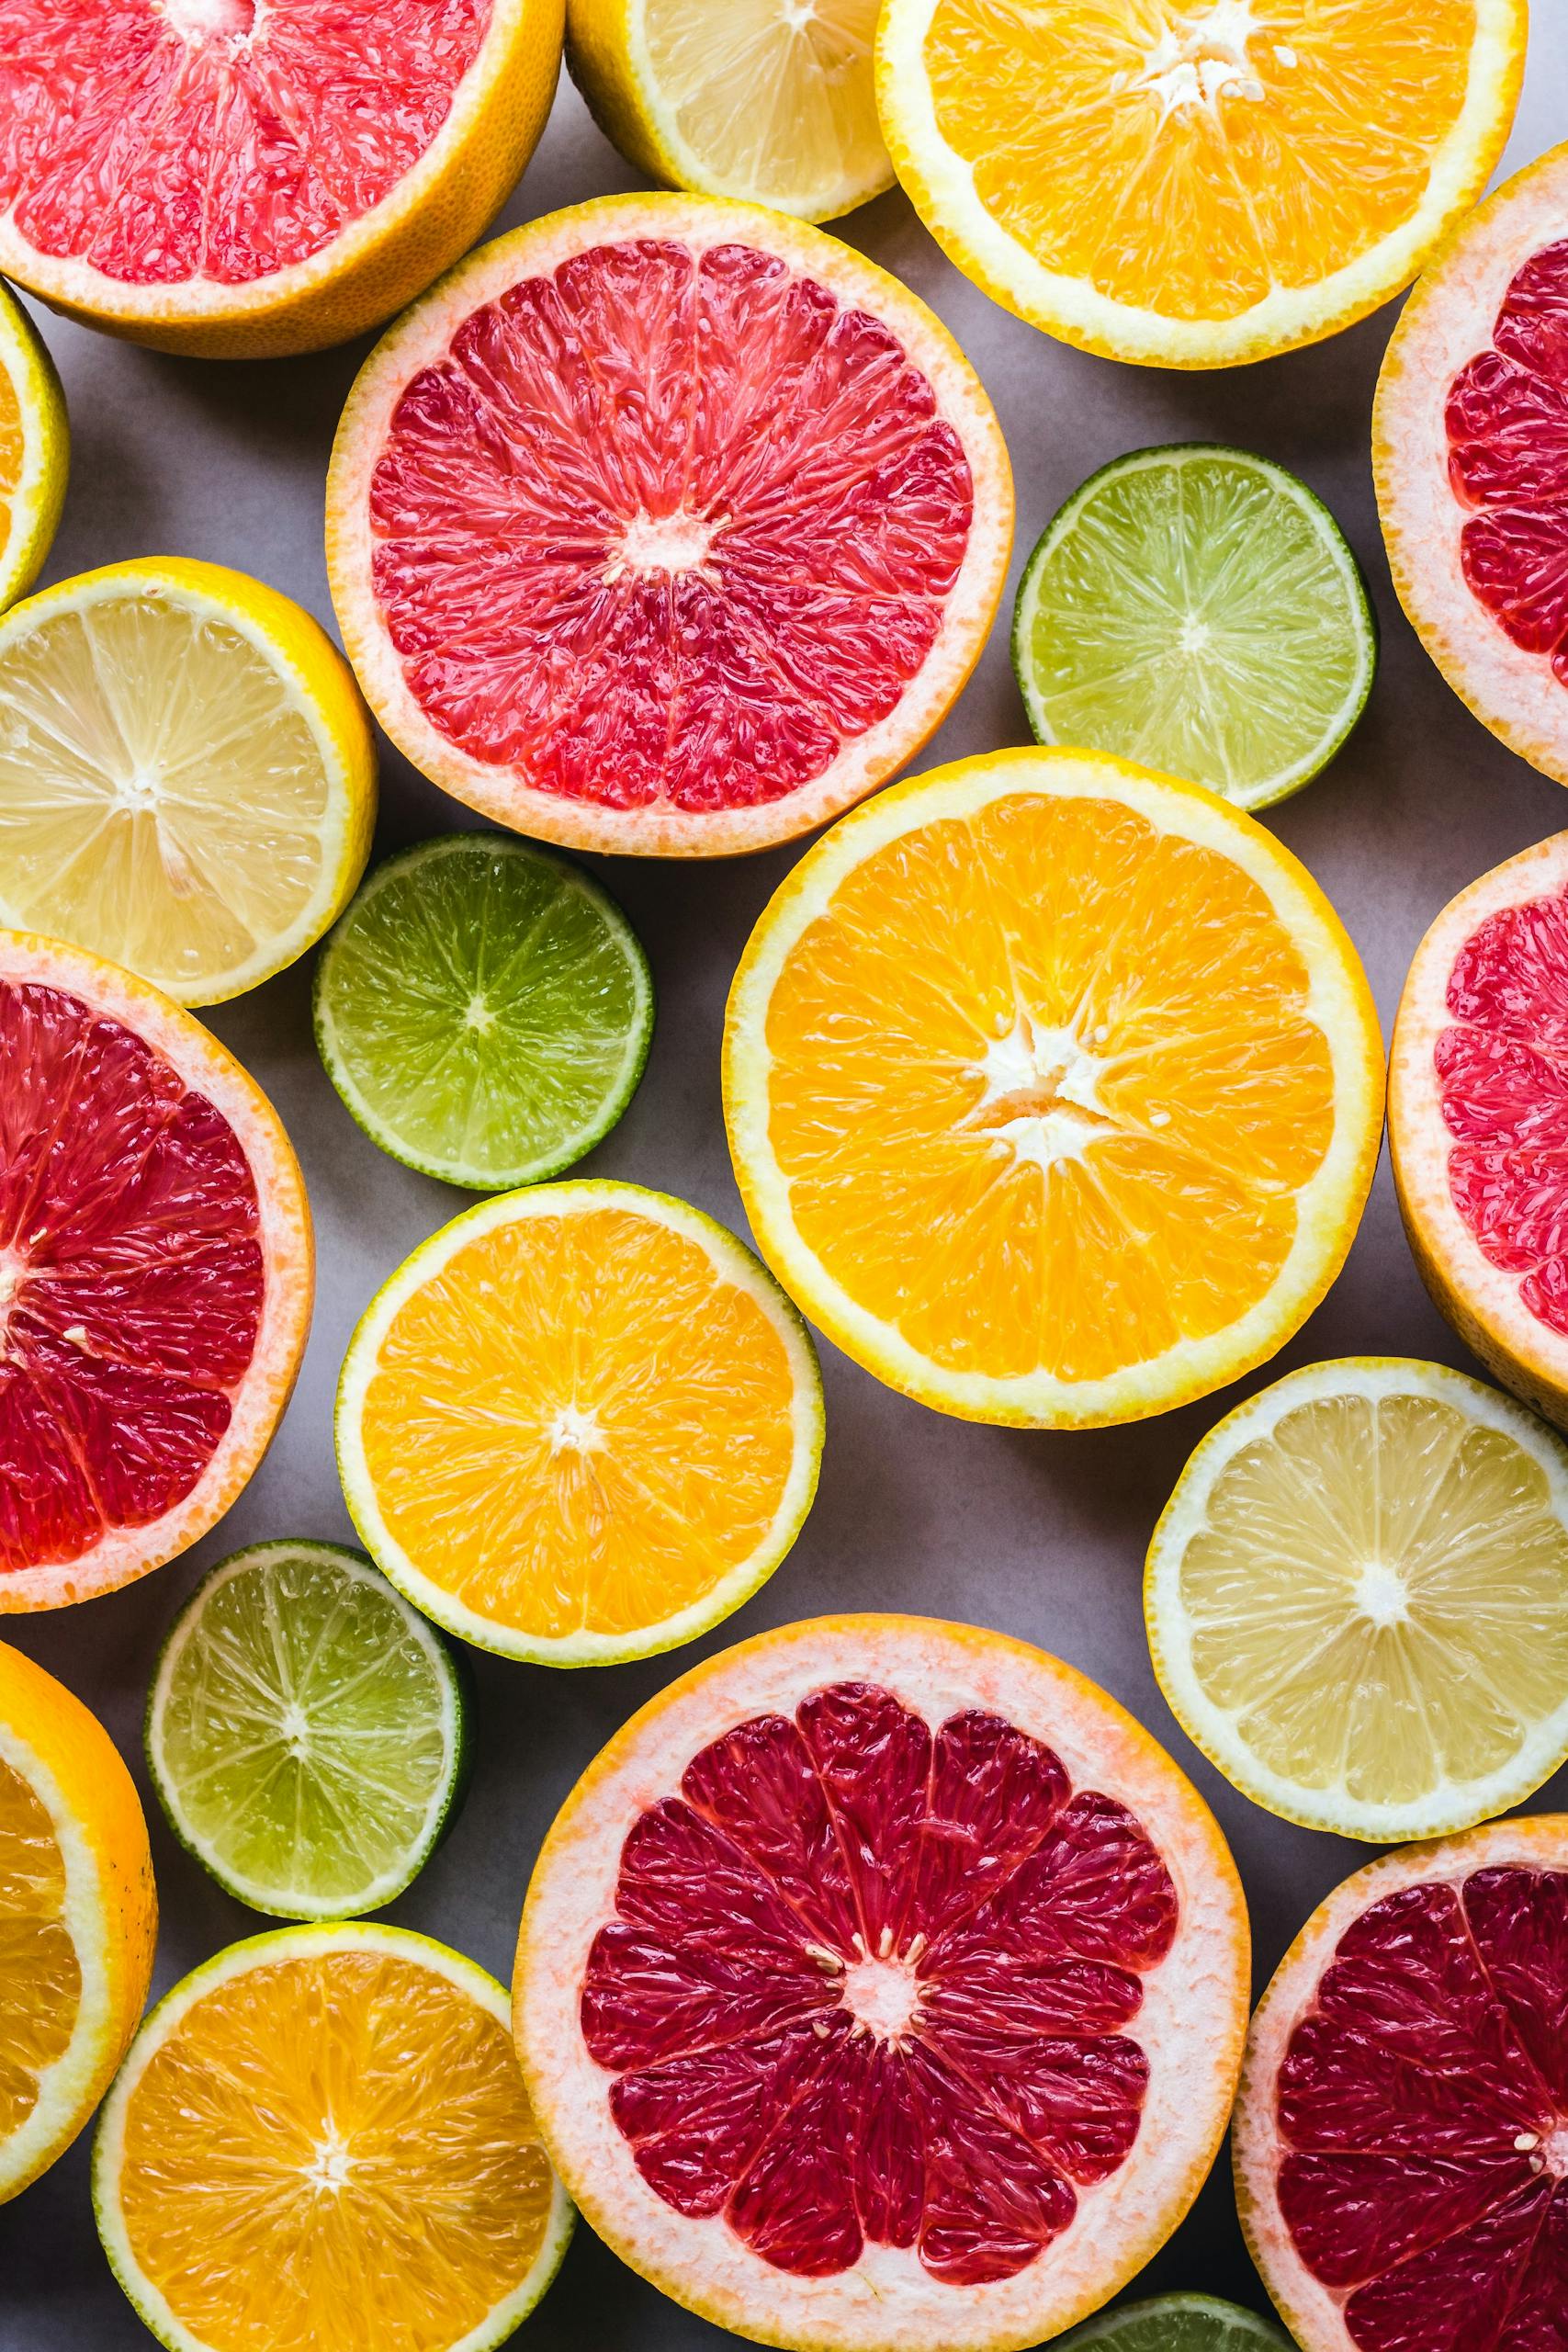
- Fruits: berries (strawberry, blueberry, raspberry), mango, pineapple, apple slices, citrus (lemon, lime, orange)
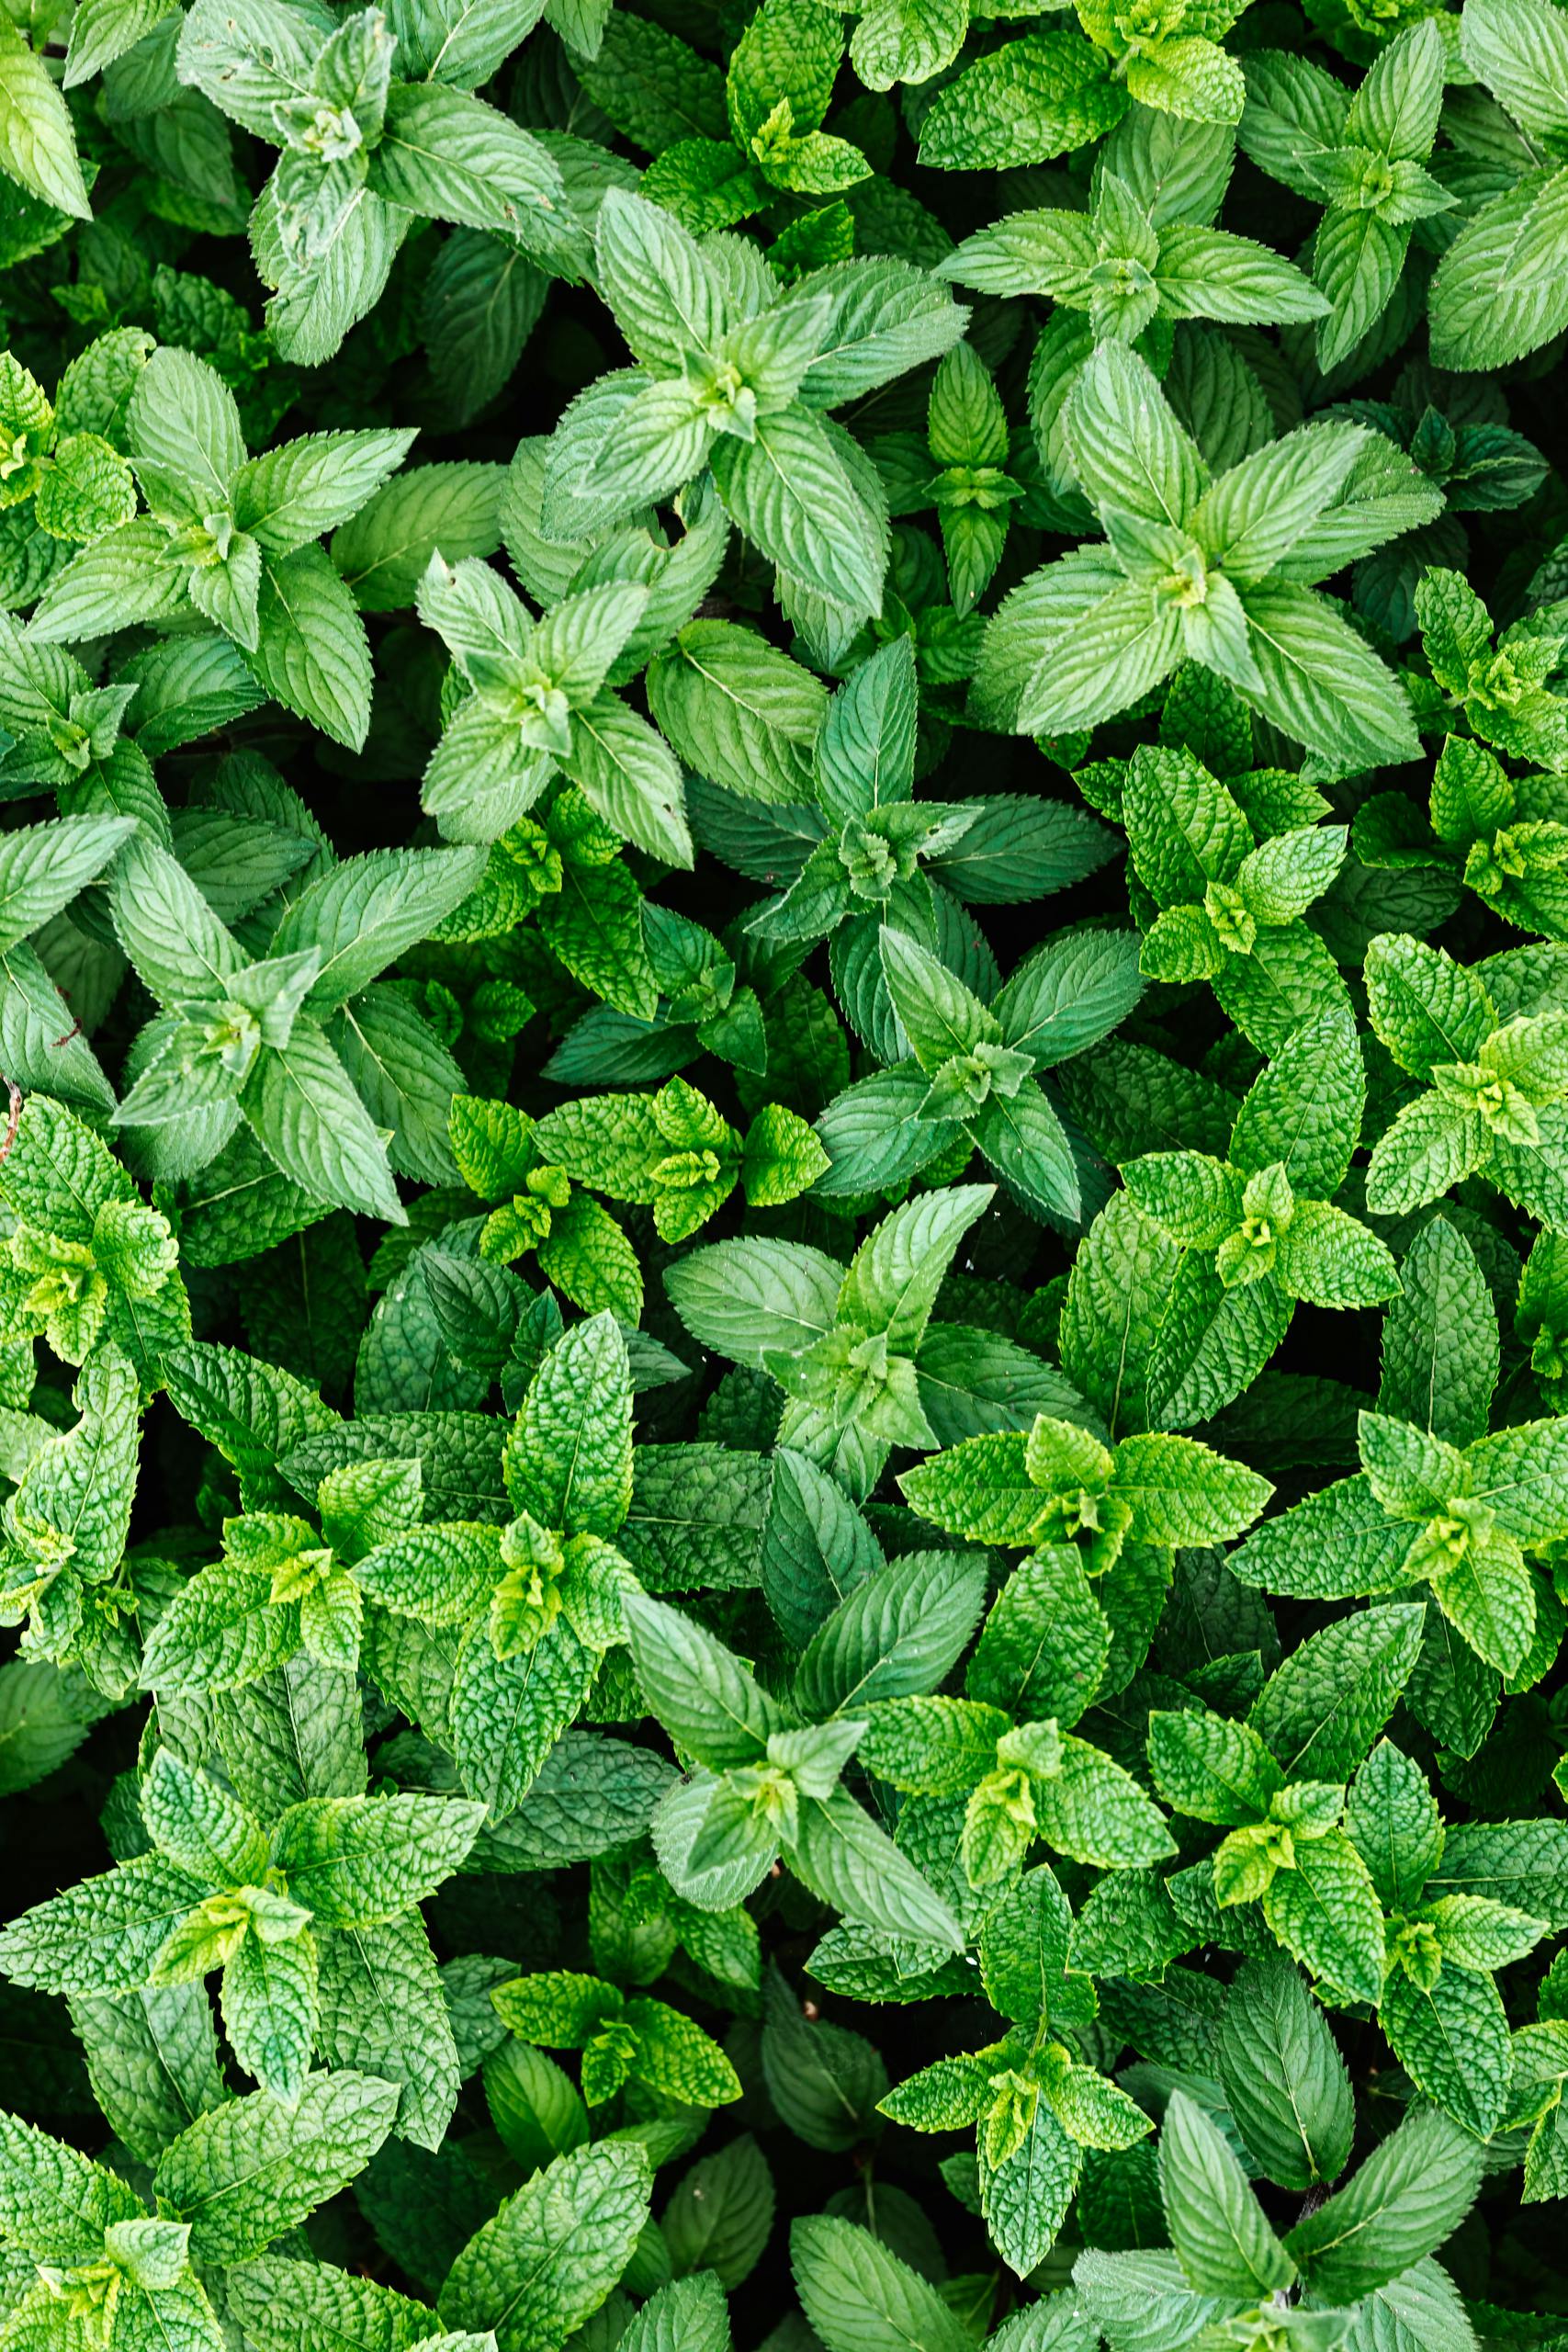
- Herbs and spices: ginger, mint, basil, rosemary, cinnamon sticks
- Juices and purees: fresh-squeezed orange, apple, or pomegranate juice; blended fruit purees
- Floral: lavender, hibiscus, rose petals (edible, unsprayed)
You can also combine ingredients and make your own unique combinations! Try pairing ginger with lemon, strawberry with basil, or pineapple with mint.
Quick tips
- Use clean, non-metal equipment — metal can react with the SCOBY, so stick to glass, wood, or food-grade plastic.
- Let the tea cool completely before adding it to your jar to avoid damaging the SCOBY.
- Remember to reserve starter tea after each batch to jumpstart your next brew and keep your SCOBY healthy.
FAQ
Shop the tools
Join the List
Subscribe
More helpful how-to guides
Conclusion
Making your own kombucha at home is easier than it seems, and once you know the basics, you can experiment with flavors, sweetness, and fizz to create a drink that’s uniquely yours. By following this guide on how to make kombucha, you can enjoy a refreshing, probiotic-rich beverage and have fun learning how to make it from scratch.